


Managing Incidents
The Incidents page lets you track and manage all security incidents reported by guards or created by admins.
Accessing Incidents
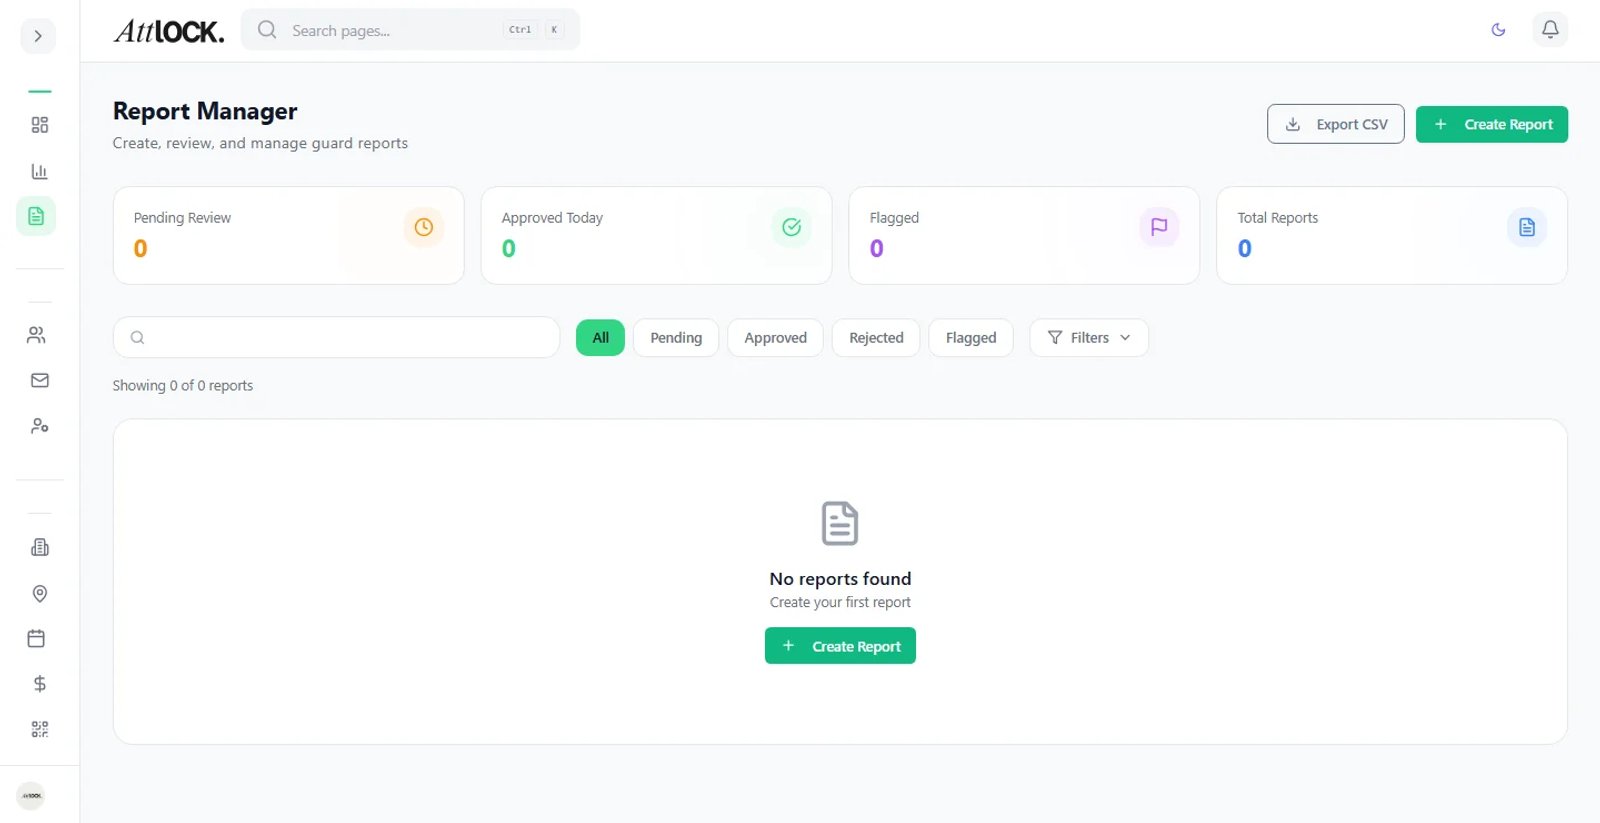
- Navigate to Field Management > Incidents (shortcut: `G` then `I`).
- The page title reads Incidents with the subtitle "Track and manage security incidents."
Incidents Overview
Stats Cards
Four summary cards appear at the top:
- Open Incidents — Unresolved incidents needing attention.
- Investigating — Incidents currently under investigation.
- Resolved Today — Incidents closed today.
- Total This Month — All incidents filed this month.
Filtering Incidents
Status Filters
Use the status buttons to filter the list:
- All — Show every incident.
- Open — New, unaddressed incidents.
- Investigating — Actively being investigated.
- Resolved — Incidents that have been closed.
Type Filters
Use the type dropdown to narrow by incident category:
- All Types
- Panic
- Theft
- Medical
- Fire
- Trespass
- Vandalism
- Other
Search
Type in the search bar to find incidents by title, description, or guard name.
Incident Table
| Column | Description | -------- | ------------ | Incident | Title with a type icon | Site | Location where the incident occurred | Reported By | Guard who filed the report | Time | When the incident was reported | Priority | Badge colored by severity | Status | Current status badge |
|---|
Priority Levels
- Critical (red) — Immediate danger, life safety.
- High (orange) — Serious, requires urgent response.
- Medium (blue) — Important but not urgent.
- Low (green) — Minor issue, can be addressed in due course.
Creating a New Incident
- Click the Report Incident button (top-right, with Plus icon).
- A sheet titled "New Incident Report" opens with the description "Log a new security incident or observation."
- Fill in the details:
- Incident Title — Brief summary.
- Type — Select from Panic, Theft, Medical, Fire, Trespass, Vandalism, Other.
- Priority — Critical, High, Medium, or Low.
- Site — Where the incident occurred.
- Description — Detailed account of the incident.
- Attachments — Upload photos or documents.
- Click Submit.
Viewing Incident Details
- Click any row in the incident table.
- The Incident Detail Sheet opens showing:
- Full incident information.
- Status timeline showing all state changes.
- Photos and attachments.
- Actions taken.
Updating Incident Status
- Open the incident detail.
- Change the status:
- Open → Investigating — Investigation has started.
- Investigating → Resolved — Issue resolved.
- Resolved → Closed — Confirmed complete.
- Add notes explaining the status change.
Permission Required
The Incidents page requires the `incidents.view` permission. To create incidents, you need `incidents.create`.
Tips & Best Practices
- Respond to Critical incidents immediately — These indicate potential life-safety issues.
- Add photos whenever possible — Visual evidence strengthens incident records.
- Update status promptly — Keep the incident timeline accurate for audit purposes.
- Review trends — Use the Analytics dashboard to spot recurring incident types at specific sites.
Troubleshooting
Can't see incidents
- Verify you have the `incidents.view` permission.
- Check if your site filter is restricting the view.
Incident not appearing after guard reports it
- There may be a brief sync delay. Refresh the page.
- Verify the guard's report was submitted (check their mobile app).
Related Articles
- Using the Command Center
- Using the Alert Center for Panic Alerts
- Building Custom Reports with Report Builder
- Viewing the Audit Log