


Creating Report Templates & Custom Report Types
Attlock lets you create custom report templates that define what information guards submit during their shifts. Instead of using a one-size-fits-all form, you can design report formats tailored to each site's specific needs.
Accessing Report Types
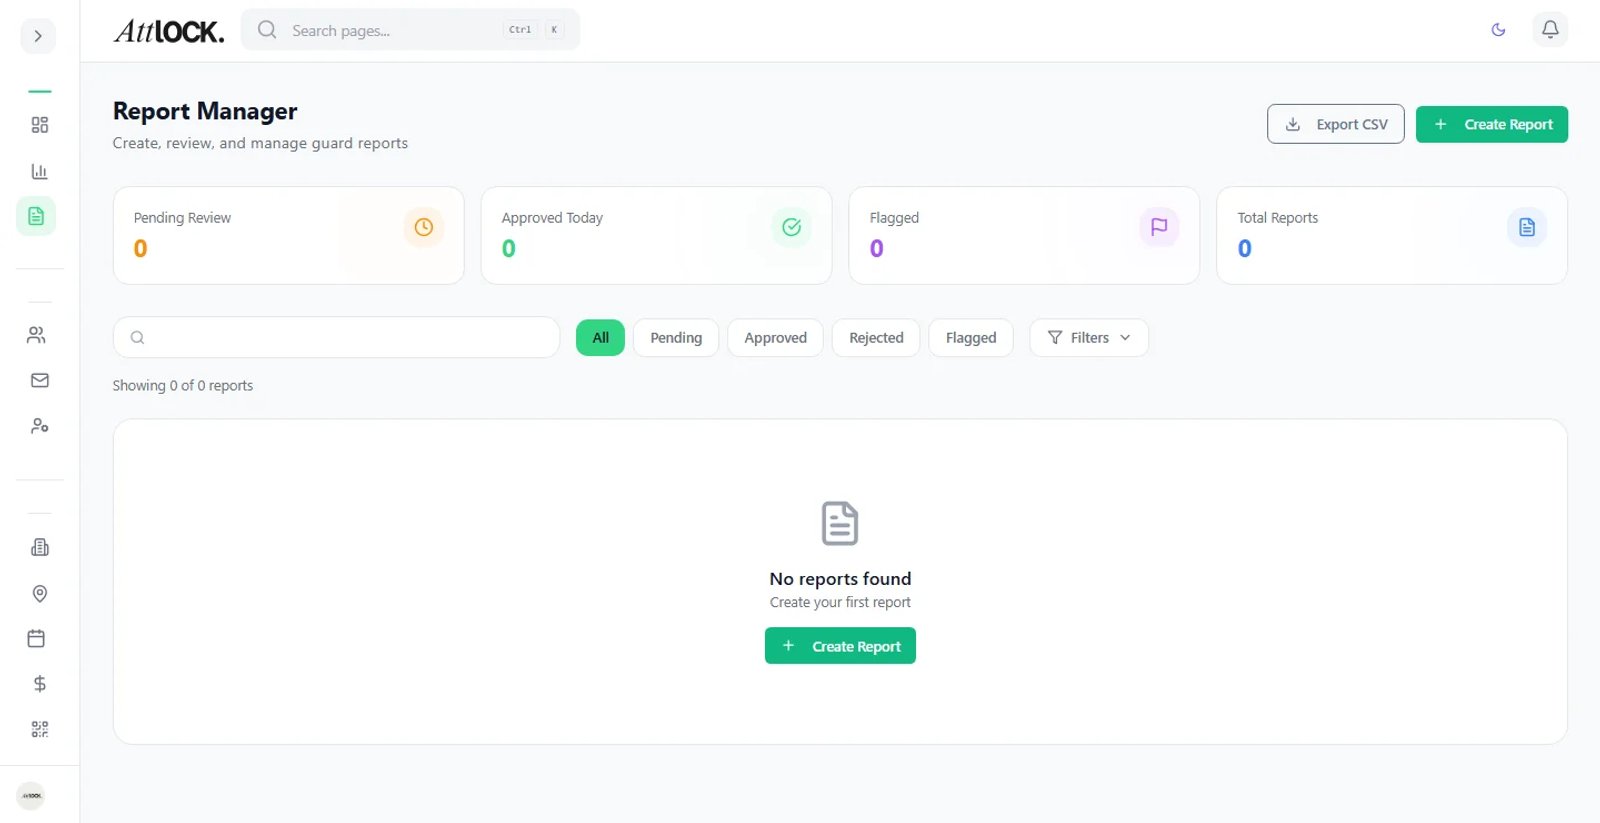
- Open the admin sidebar and navigate to Report Types under the Reports section
- The page displays all existing report templates with their name, assigned sites, and field count
- Click any template to edit it, or click Create Report Type to build a new one
Creating a New Report Template
Step 1: Basic Information
- Click Create Report Type
- Enter a Template Name — choose something descriptive like "Warehouse Nightly Patrol Report" or "Retail Incident Report"
- Add an optional Description to help guards understand when to use this template
- Click Next to proceed to field configuration
Step 2: Adding Fields and Sections
Build your report by adding the fields guards need to fill out:
- Text Field — For short written responses (e.g., "Guard Name" or "Location")
- Long Text — For detailed descriptions (e.g., "Incident Description" or "Observations")
- Dropdown Select — For predefined choices (e.g., "Weather Conditions: Clear / Rainy / Snowy")
- Checkbox — For yes/no items (e.g., "All doors locked" or "Alarm system armed")
- Number — For numeric values (e.g., "Number of visitors" or "Temperature reading")
- Date/Time — For recording specific times (e.g., "Time of incident")
- Photo Upload — For attaching images (e.g., "Photo of damage" or "Proof of patrol")
- Signature — For capturing a digital signature
For each field, you can configure:
- Field Label — The name shown to the guard
- Required — Whether the guard must fill it in before submitting
- Placeholder Text — Hint text shown inside empty fields
- Options — For dropdown fields, the list of choices available
Step 3: Organizing with Sections
Group related fields into sections to keep reports organized:
- Click Add Section to create a named group
- Drag fields into the section or add new fields directly within it
- Common sections include "General Information," "Security Checks," "Incidents," and "Closing Summary"
Step 4: Preview and Save
- Click Preview to see what the report looks like from a guard's perspective
- Make any adjustments to field order, labels, or requirements
- Click Save Template to finalize
Assigning Templates to Sites
Once a template is created, assign it to the sites where guards should use it:
- Open the report template
- Click the Assigned Sites tab
- Select one or more sites from the list
- Click Save
Guards at those sites will see this report type as an option when they submit reports from the mobile app.
How Guards Use Templates
When a guard submits a report from the mobile app:
- They select the report type from the available templates for their current site
- The custom form appears with all the fields and sections you configured
- They fill in the required information, attach photos if needed, and submit
- The completed report appears in your admin dashboard under Reports
Tips
- Start with a simple template and add fields as needs become clear
- Use required fields sparingly — too many required fields slow down guard submissions
- Create separate templates for routine patrols and incident-specific reports
- Review submitted reports regularly to identify if template adjustments are needed