


Understanding Roles and Permissions
Atlock uses Role-Based Access Control (RBAC) to manage what each user can see and do on the platform. Every user is assigned a role, and each role has a specific set of permissions.
Accessing Access Control
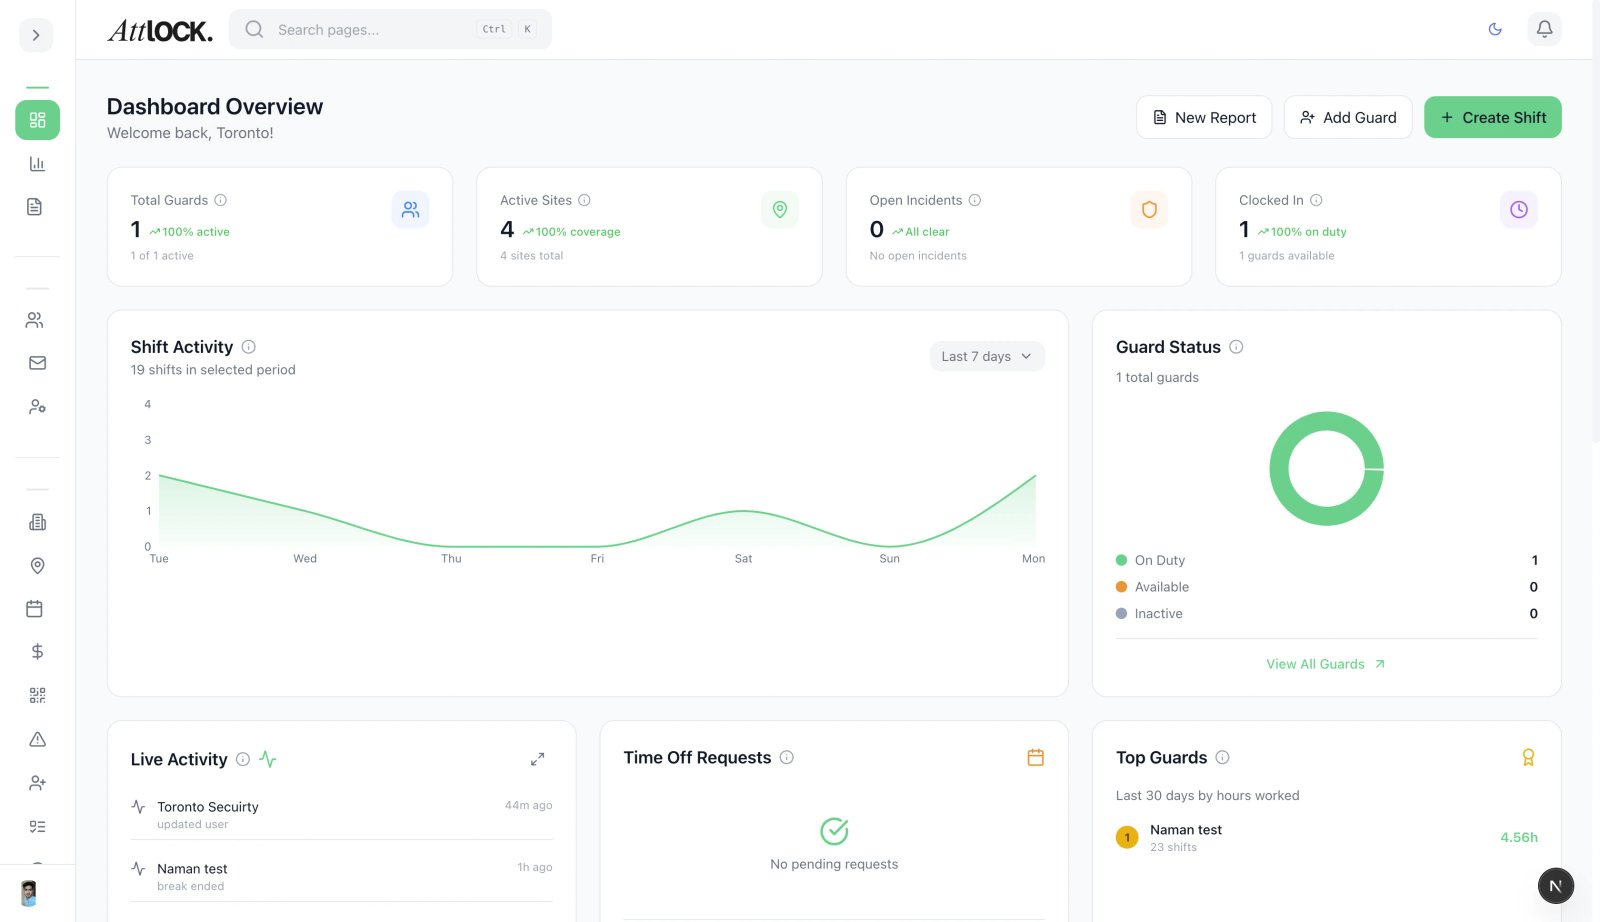
- Navigate to Team > Access Control in the sidebar (shortcut: `G` then `U`).
- You will see two tabs: Users and Roles.
Default Roles
Atlock comes with four built-in roles:
Company Admin
- Full access to all features, settings, and data.
- Can create, edit, and delete other users and roles.
- Can access billing and subscription management.
- Can view the audit log.
- Typically assigned to company owners and senior managers.
Supervisor
- Access to operational features (scheduling, incidents, reports).
- Can manage guards assigned to their sites.
- Cannot access billing, API settings, or company-wide settings.
- Cannot create or modify roles.
Guard
- Access to the mobile app only (not the admin dashboard).
- Can clock in/out, complete patrols, file reports, and view their schedule.
- Cannot access any admin features.
Dispatcher
- Access to the Command Center for ticket management.
- Can create, assign, and resolve dispatch tickets.
- Can view guard locations and active shifts.
- Limited access to other admin features.
Note: Default roles cannot be deleted, but their permissions can be customized.
Custom Roles
You can create custom roles with granular permissions to match your organization's structure.
Creating a Custom Role
- Go to Access Control > Roles tab.
- Click Create Role.
- Enter a Role Name (e.g., "Site Manager", "HR Coordinator").
- Optionally add a Description.
- Configure permissions by toggling individual capabilities:
Permission Categories
| Category | Permissions | ---------- | ------------ | Dashboard | `dashboard.view` — Access the admin dashboard | Users | `users.view`, `users.create`, `users.edit`, `users.delete`, `users.assign_role` | Sites | `sites.view`, `sites.create`, `sites.edit`, `sites.delete` | Shifts | `shifts.view`, `shifts.create`, `shifts.edit`, `shifts.delete` | Reports | `reports.view`, `reports.create`, `reports.export` | Incidents | `incidents.view`, `incidents.create`, `incidents.edit`, `incidents.resolve` | Vehicles | `vehicles.view`, `vehicles.create`, `vehicles.edit`, `vehicles.delete` | Billing | `billing.view`, `billing.payroll`, `billing.invoices` | Patrols | `patrols.view`, `patrols.create`, `patrols.edit` | Tasks | `tasks.view`, `tasks.manage` | Tracking | `view:tracking` — Access live guard tracking | Vendors | `vendors.view`, `vendors.manage` | Compliance | `compliance.view`, `compliance.manage` | Settings | `settings.view`, `settings.edit` |
|---|
- Click Save Role.
Editing a Custom Role
- In the Roles tab, find the role you want to modify.
- Click the Edit (pencil) icon.
- Adjust permissions as needed.
- Click Save Changes.
Warning: Changing role permissions takes effect immediately for all users with that role.
Role Comparison
To compare permissions between two roles side by side:
- Go to Access Control > Roles.
- Click Compare Roles.
- Select two roles to compare.
- A side-by-side view shows which permissions each role has.
Managing User Roles
Assigning a Role to a User
- Go to Access Control > Users tab.
- Find the user (use the search bar for large teams).
- Click the user's row to open their profile.
- In the Role dropdown, select the desired role.
- Click Save.
Bulk Role Assignment
- In the Users tab, select multiple users using the checkboxes.
- Click Bulk Actions > Assign Role.
- Choose the role and confirm.
How Permissions Work
- View permissions let users see data but not modify it.
- Create permissions let users add new records.
- Edit permissions let users modify existing records.
- Delete permissions let users remove records.
- Manage permissions combine create, edit, and delete into one toggle.
Permissions are additive — a user has the combined permissions of their assigned role. There are no "deny" permissions.
Tips & Best Practices
- Principle of least privilege — Give users only the permissions they need for their job function.
- Audit regularly — Review roles and user assignments quarterly to ensure they are still appropriate.
- Use custom roles — Instead of giving everyone Supervisor access, create targeted roles like "Scheduling Manager" or "Report Viewer".
- Test before deploying — After creating a new role, log in as a test user with that role to verify the experience.
Troubleshooting
User can't see a feature
- Check their assigned role in Access Control.
- Verify the role has the required permission for that feature.
- Some features also require subscription-level access (feature gates).
Role changes not taking effect
- Ask the user to refresh their browser or re-open the mobile app.
- Changes are applied immediately but cached sessions may need a refresh.
Can't create roles
- Only Company Admins can create and manage roles.
- Verify your own role has the `users.assign_role` permission.
Related Articles
- Understanding the Admin Dashboard
- Inviting Guards to the Platform
- Configuring Company Settings
- Viewing the Audit Log