


API Keys & Webhook Configuration
Attlock provides a full API and webhook system so you can integrate your security operations with external tools such as payroll systems, HR platforms, incident management software, and custom dashboards. This guide covers generating API keys, setting up webhooks, and keeping your integrations secure.
Navigating to API Settings
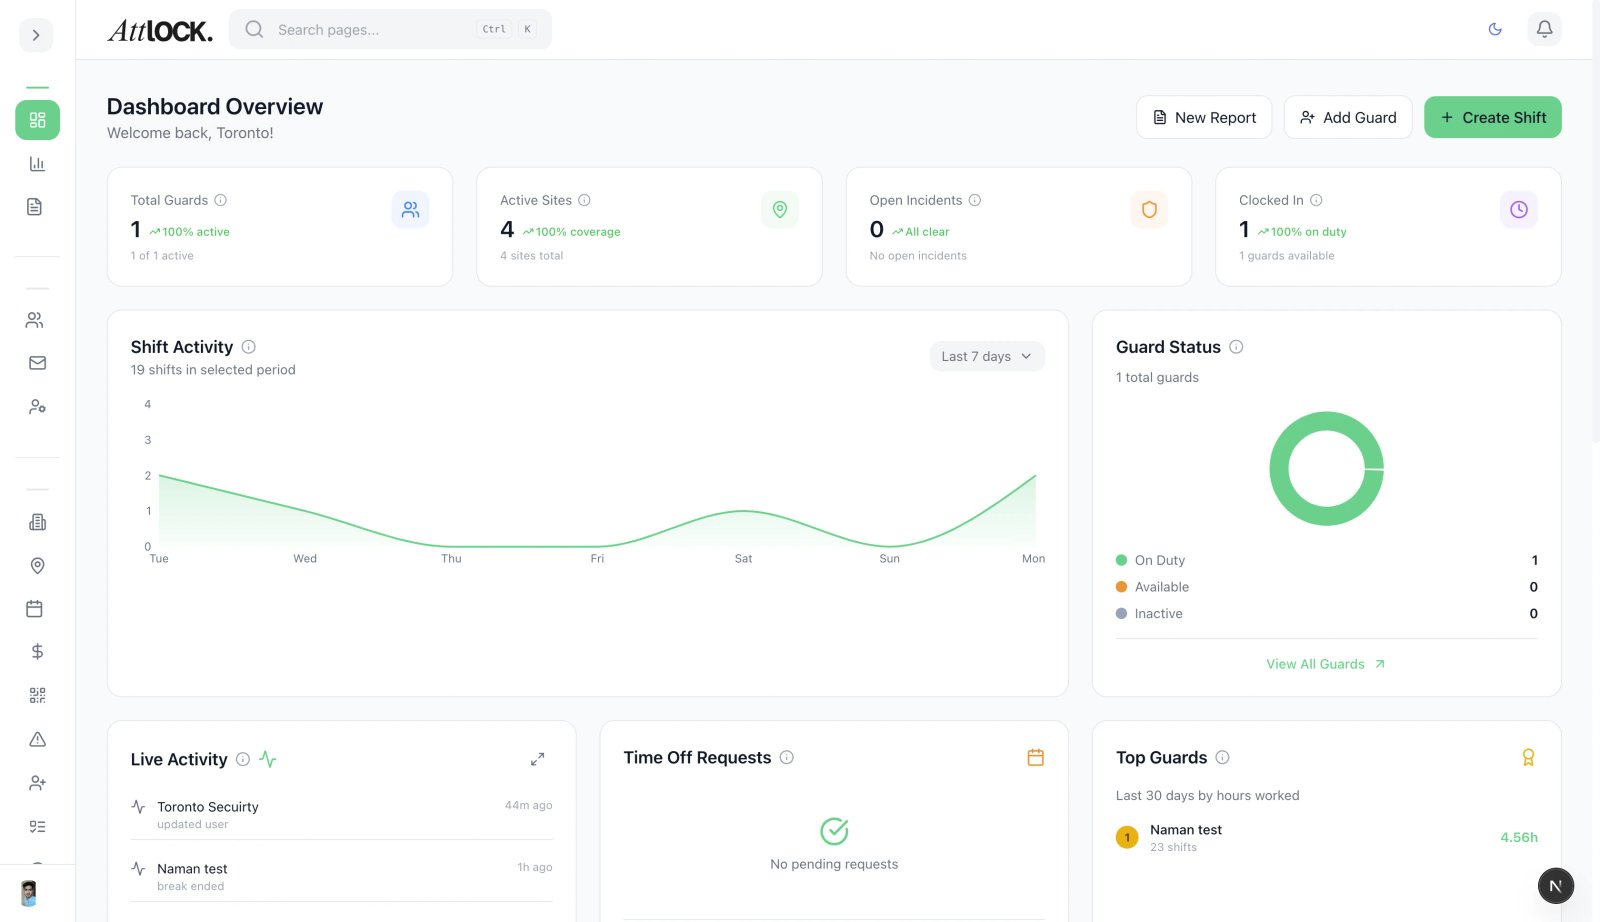
- Open the admin dashboard and click Settings in the sidebar.
- Select the API Keys tab to manage keys, or the Webhooks tab to configure event endpoints.
- The API Docs tab provides interactive documentation for every available endpoint.
Generating a New API Key
- Go to Settings > API Keys and click Generate New Key.
- Enter a descriptive name for the key (e.g., "Payroll Integration" or "BI Dashboard").
- Select the permission scope for the key. Available scopes include:
- Read Only — query shifts, guards, sites, and reports without making changes.
- Read & Write — create and update records such as shifts, incidents, and guard profiles.
- Admin — full access including settings, billing, and user management.
- Click Create Key. The full key value is displayed once. Copy it immediately and store it in a secure location such as a secrets manager.
- The key list shows the name, scope, creation date, and last-used timestamp for each active key.
Rotating and Revoking Keys
- To rotate a key, click the three-dot menu next to it and select Rotate. A new key value is generated and the old one remains active for a 24-hour grace period before automatic revocation.
- To revoke a key immediately, select Revoke from the same menu. Any request using the revoked key will return a 401 error.
- We recommend rotating keys at least every 90 days as a security best practice.
Setting Up Webhooks
Webhooks let Attlock push real-time event data to your systems whenever something important happens.
- Navigate to Settings > Webhooks and click Add Endpoint.
- Enter the Endpoint URL — this must be an HTTPS URL that your server is listening on.
- Select the events you want to receive. Available events include:
- `shift.created` — a new shift is published.
- `shift.updated` — a shift is modified or reassigned.
- `guard.clocked_in` — a guard clocks in at a site.
- `guard.clocked_out` — a guard clocks out.
- `incident.reported` — a new incident report is submitted.
- `patrol.completed` — a patrol tour is finished.
- `invoice.generated` — a client invoice is created.
- Click Save Endpoint.
Testing Webhooks
After saving an endpoint, click Send Test Event to deliver a sample payload. Your server should respond with a `200` status code. The test result appears inline so you can verify the connection before going live.
Retry and Failure Handling
If your endpoint returns a non-2xx status or times out, Attlock retries delivery using an exponential backoff schedule:
- Attempt 1 — immediate.
- Attempt 2 — after 1 minute.
- Attempt 3 — after 5 minutes.
- Attempt 4 — after 30 minutes.
- Attempt 5 — after 2 hours.
After five failed attempts the event is marked as failed. You can view failed deliveries on the endpoint detail page and manually retry them.
If an endpoint fails consistently for 72 hours, it is automatically disabled and an email notification is sent to all Company Admins.
Security: Signature Verification
Every webhook request includes an `X-Attlock-Signature` header containing an HMAC-SHA256 hash of the request body. Your endpoint's signing secret is displayed when you create or edit the endpoint.
To verify a delivery:
- Compute the HMAC-SHA256 of the raw request body using your signing secret.
- Compare the result with the value in the `X-Attlock-Signature` header.
- Reject any request where the signatures do not match.
This ensures that payloads are genuinely from Attlock and have not been tampered with in transit.
Accessing API Documentation
Go to Settings > API Docs for a full interactive reference. You can browse endpoints, view request and response schemas, and make test calls directly from the browser using your API key.