


Inviting Guards to the Platform
Before guards can use Atlock's mobile app to clock in, complete patrols, and file reports, they need to be invited to your company account.
Accessing Invitations
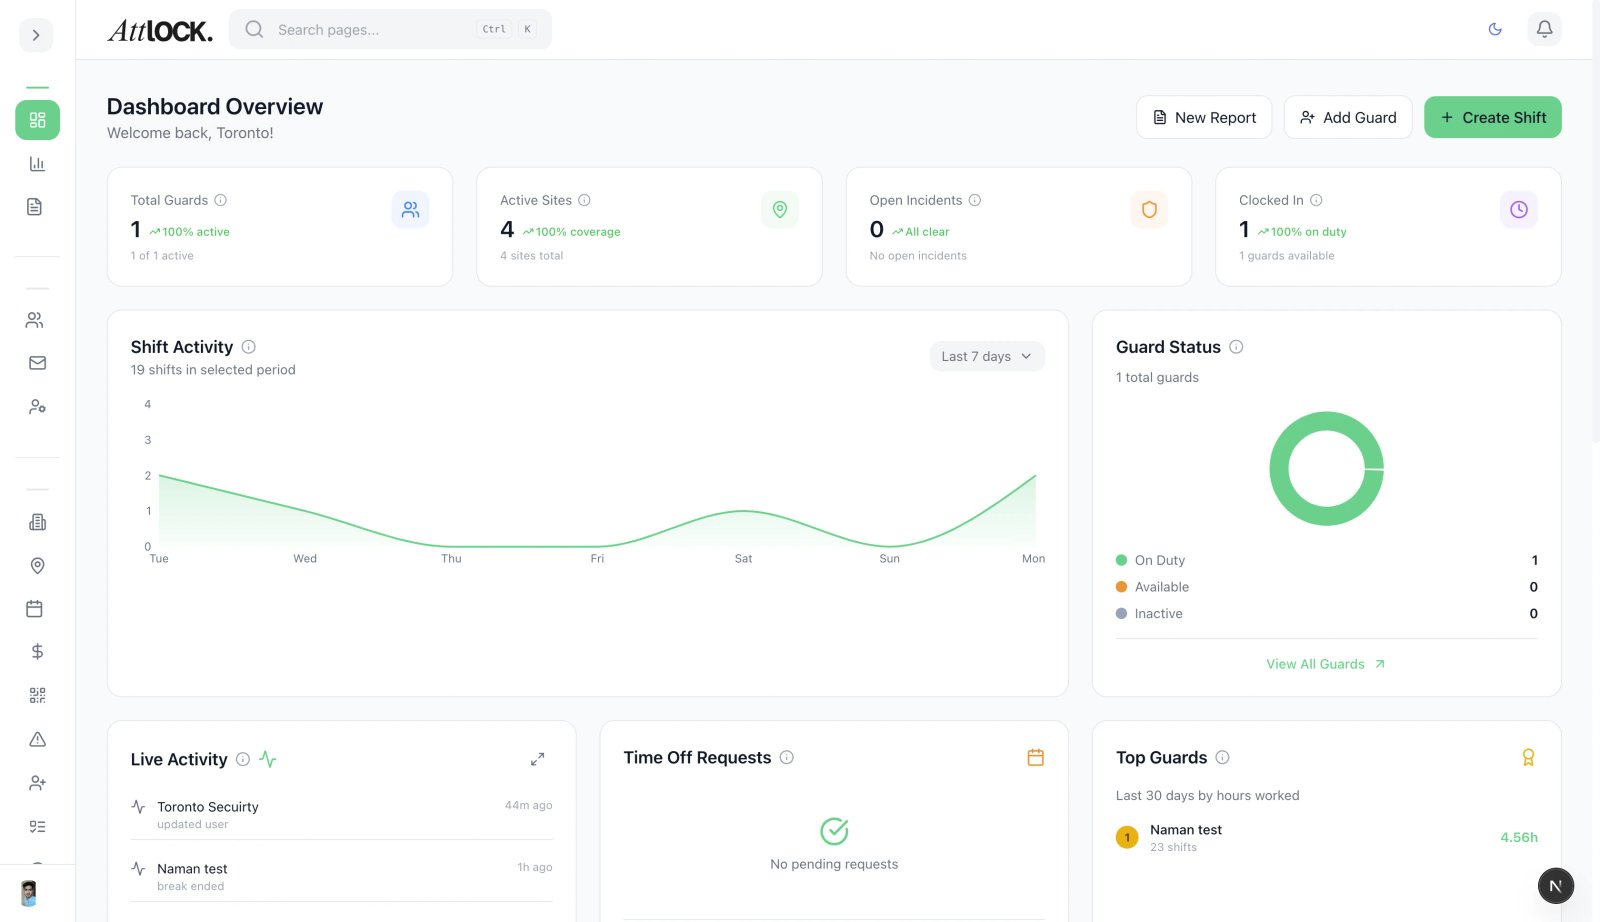
- Navigate to Team > Invitations in the sidebar (shortcut: `G` then `N`).
- You will see a list of all pending, accepted, and expired invitations.
Sending an Individual Invitation
- Click the Invite User button.
- Fill in the invitation form:
- Email Address — The email the invite will be sent to.
- First Name and Last Name — Pre-fill the user's profile.
- Role — Select the role to assign (Guard, Supervisor, Dispatcher, or a custom role).
- Site Assignment (optional) — Pre-assign the user to one or more sites.
- Click Send Invitation.
- The user will receive an email with a link to create their account and download the mobile app.
Sending Bulk Invitations
For onboarding many guards at once:
- Click Bulk Invite on the Invitations page.
- Download the CSV template provided.
- Fill in the template with one row per user:
- email, firstname, lastname, role, site (optional)
- Upload the completed CSV file.
- Review the preview — the system will flag any invalid emails or duplicate entries.
- Click Send All Invitations.
Tip: The bulk invite template can also be generated from Settings > Data Migration with pre-filled column headers.
Invitation Statuses
| Status | Meaning | -------- | -------- | Pending | Invitation sent but not yet accepted | Accepted | User has created their account | Expired | Invitation link has expired (default: 7 days) | Revoked | Invitation was manually cancelled |
|---|
Managing Pending Invitations
Resending an Invitation
- Find the pending invitation in the list.
- Click the Resend button (envelope icon).
- A new email will be sent with a fresh invitation link.
Revoking an Invitation
- Find the pending invitation.
- Click the Revoke button (X icon).
- Confirm the revocation — the invitation link will no longer work.
Filtering Invitations
Use the filter bar to view invitations by:
- Status (Pending, Accepted, Expired, Revoked)
- Role
- Date range
What Happens After Acceptance
When a user accepts their invitation:
- They create a password and verify their email via Clerk authentication.
- Their profile is created in Atlock with the pre-assigned role.
- If a site was assigned, they will immediately see that site in their mobile app.
- They can download the Atlock Guard app from the App Store or Google Play.
Tips & Best Practices
- Use work emails when possible — personal emails may change when guards leave.
- Pre-assign sites during invitation to save a step after onboarding.
- Set up roles first — Ensure custom roles are configured before inviting users so you can assign the right permissions from day one.
- Follow up on pending invitations — Check the Invitations page weekly and resend expired invitations.
Troubleshooting
User didn't receive the invitation email
- Check if the email went to spam/junk.
- Verify the email address is correct (no typos).
- Resend the invitation from the Invitations page.
Invitation link expired
- Click Resend to generate a new link.
- Links expire after 7 days by default.
User accepted but can't access features
- Check their role assignment in Access Control > Users.
- Verify the role has the required permissions.
Related Articles
- Understanding Roles and Permissions
- Creating and Editing Guard Profiles
- Onboarding Checklist for New Companies
- Assigning Guards to Sites and Teams