


Using the Command Center
The Command Center is your real-time operational hub for managing tickets, dispatching guards, and coordinating responses to incidents and service requests.
Accessing the Command Center
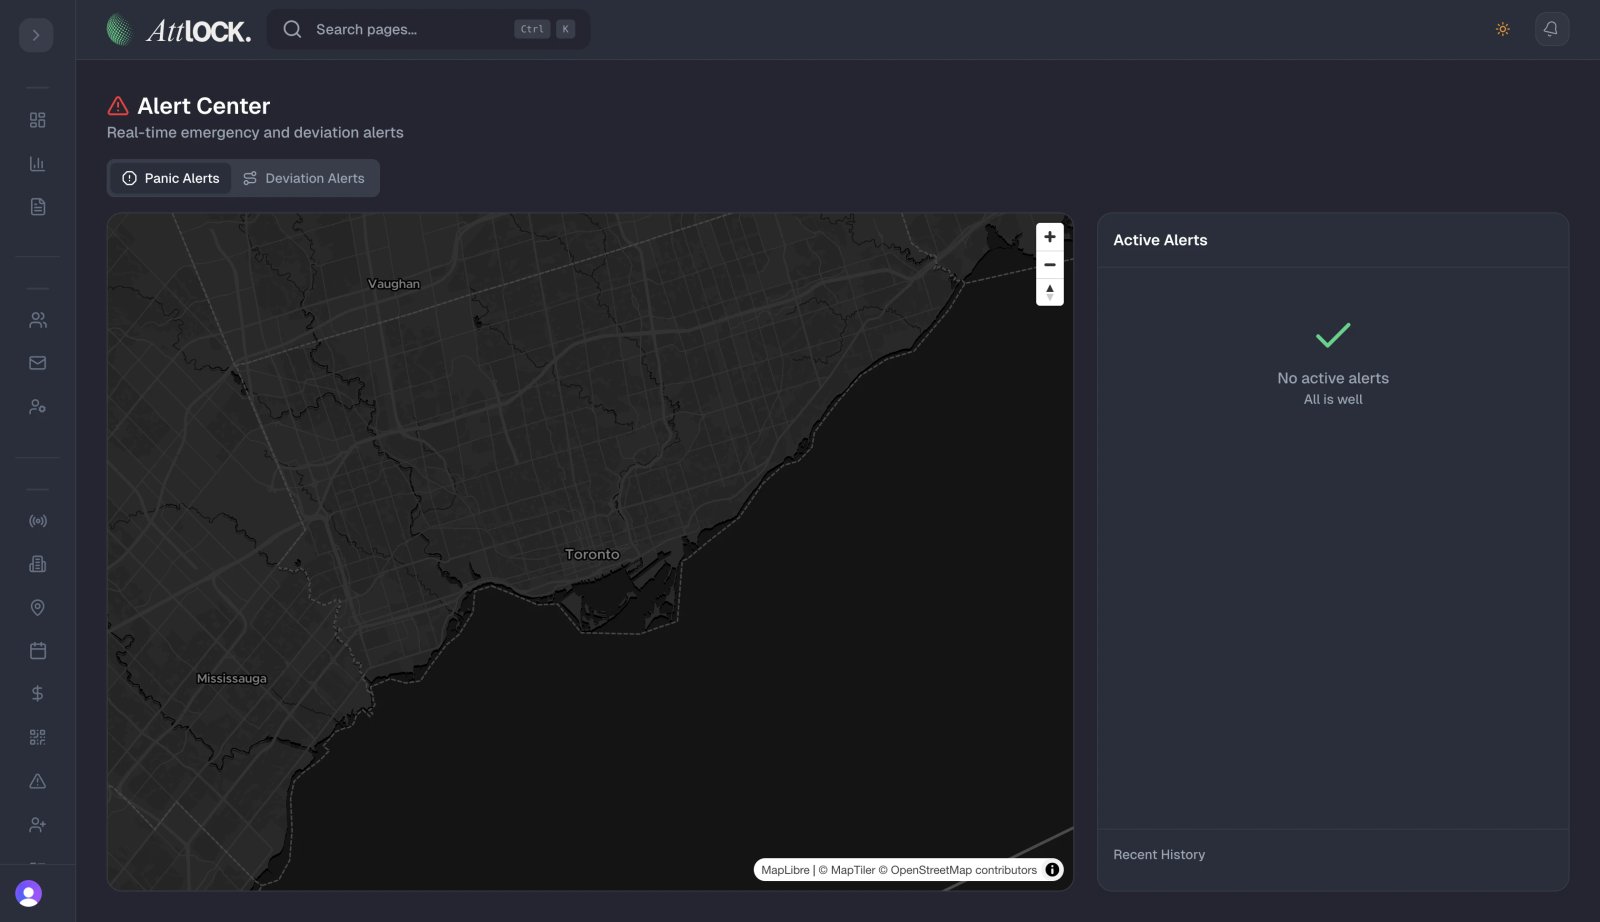
- Navigate to Operations > Command Center in the sidebar (shortcut: `G` then `M`).
- The Command Center dashboard loads with an overview of all active operations.
Note: The Command Center requires the `command_center` feature in your subscription plan.
Command Center Dashboard
The main dashboard shows:
Ticket Overview
- Open Tickets — Count of unresolved tickets.
- In Progress — Tickets currently being handled.
- Resolved Today — Tickets closed today.
- Overdue — Tickets past their SLA deadline.
Active Operations
- Active Shifts — Number of guards currently on duty.
- Geofence Breaches — Current breach alerts.
- Pending Dispatches — Dispatch orders awaiting confirmation.
Filter Bar
Filter the dashboard by:
- Status — Open, In Progress, Resolved, Closed.
- Priority — Low, Medium, High, Critical.
- Assignment — Assigned to me, Unassigned, All.
- Site — Filter to a specific site.
Managing Tickets
Viewing All Tickets
- Click All Tickets in the Command Center submenu.
- Browse the ticket list with sortable columns:
- Ticket ID, Title, Status, Priority, Assigned To, Site, Created Date.
- Click any ticket to open the detail view.
Creating a Ticket
- Click Create Ticket.
- Fill in the details:
- Title — Brief summary of the issue or request.
- Description — Detailed information.
- Priority — Low, Medium, High, or Critical.
- Site — Where the issue is occurring.
- Category — Incident, Service Request, Maintenance, Other.
- Assign To — Select a guard, supervisor, or team.
- Click Submit.
Ticket Detail View
Each ticket has three tabs:
Details Tab
- Full ticket information.
- Status timeline showing all state changes.
- Attached files and photos.
Comments Tab
- Internal discussion thread.
- Add comments with text and attachments.
- Tag other team members with @mentions.
Contacts Tab
- Related contacts for this ticket (client, witness, etc.).
- Quick call/email buttons.
Updating Ticket Status
- Open the ticket.
- Use the Status dropdown to change:
- Open → In Progress — Work has begun.
- In Progress → Resolved — Issue is fixed.
- Resolved → Closed — Confirmed resolved.
- Any → On Hold — Waiting for external input.
- Add a comment explaining the status change.
Dispatch Center
The Dispatch Center handles real-time guard deployment:
- Click Dispatch Center in the Command Center submenu.
- The dispatch view shows:
- Available Guards — Guards currently on duty and not dispatched.
- Available Vehicles — Fleet vehicles ready for deployment.
- Active Dispatches — Currently dispatched guards.
Creating a Dispatch Order
- Click New Dispatch.
- Fill in:
- Ticket — Link to an existing ticket (optional).
- Location — Where the guard should go.
- Priority — Urgency level.
- Instructions — What the guard should do on arrival.
- Assign Guard — Select from available guards.
- Assign Vehicle (optional) — Select a fleet vehicle.
- Click Dispatch.
The assigned guard receives a push notification with dispatch details and can:
- Accept or decline the dispatch.
- Navigate to the location.
- Report status updates.
- Mark the dispatch as complete.
Tracking Dispatches
- Active dispatches appear on the Breach Map with real-time guard positions.
- Status updates flow in as guards respond:
- Dispatched → En Route → On Scene → Completed.
Standard Operating Procedures (SOPs)
Configure response procedures for different ticket types:
- Click Ticket SOPs in the Command Center submenu.
- Click Create SOP.
- Define:
- Ticket Category — Which ticket type this SOP applies to.
- Priority Level — The urgency level.
- Instructions — Step-by-step response procedure.
- Escalation Rules — When and to whom to escalate.
- Response Time Target — SLA for this type.
- Save the SOP.
When a matching ticket is created, the SOP instructions automatically appear for the handler.
Breach Map
The real-time map shows:
- Navigate to Command Center > Map.
- View:
- Guard positions (live GPS tracking).
- Geofence boundaries.
- Active breach alerts with details.
- Dispatch routes.
- Click on a breach marker to see:
- Guard involved.
- Time of breach.
- Duration outside geofence.
- Actions taken.
Tips & Best Practices
- Prioritize consistently — Use priority levels meaningfully (Critical = immediate danger).
- Add SOPs for your most common ticket types to standardize responses.
- Monitor the dashboard throughout the shift for real-time situational awareness.
- Use comments for an audit trail of all actions taken on a ticket.
- Link dispatches to tickets so all related activity is tracked together.
Troubleshooting
Can't access Command Center
- This feature requires the `command_center` feature in your subscription.
- Contact your account manager to upgrade.
Dispatch notification not received by guard
- Verify the guard has push notifications enabled.
- Check that the guard's mobile app is running.
- Try sending a test notification from the guard's profile.
Ticket not appearing in filters
- Check your filter settings — the ticket may be in a different status or priority.
- Clear all filters and search by ticket ID.
Related Articles
- Managing Incidents
- Using the Operations Center
- Using the Alert Center for Panic Alerts
- Setting Up Ticket SOPs