


Running Data Migrations
The Data Migration tool lets you import bulk data into Atlock from CSV files or migrate from other security management platforms.
Accessing Data Migration
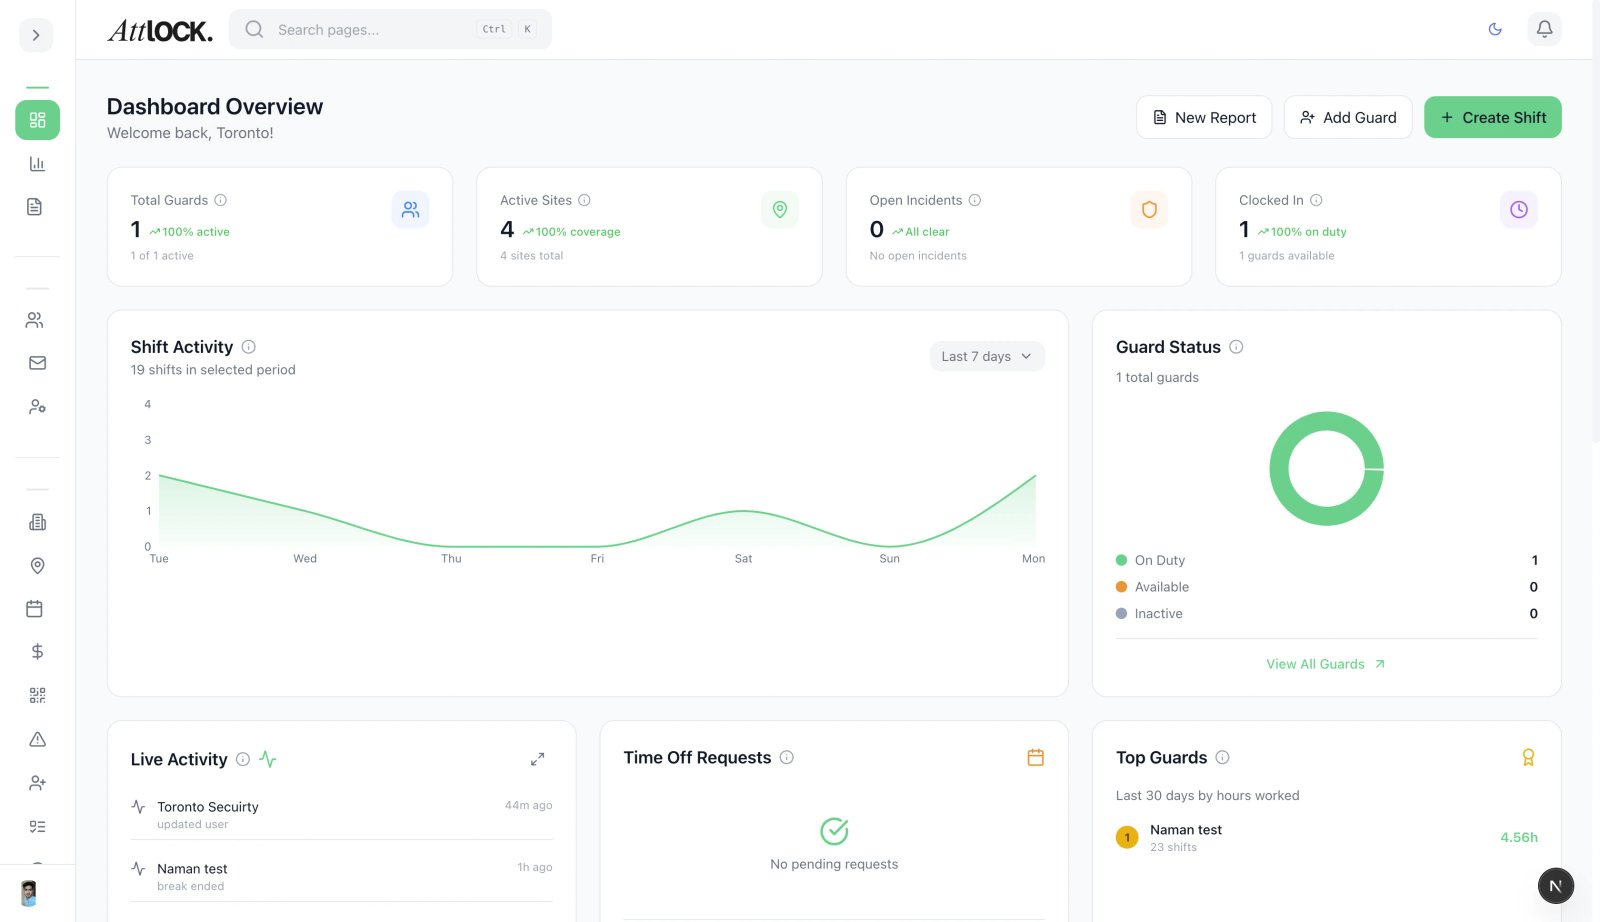
- Navigate to Settings > Data Migration in the sidebar.
Migration Wizard Steps
Step 1: Choose Source
- CSV Import — Upload your own CSV files.
- Platform Presets — Pre-configured mappings for other security platforms.
Step 2: Generate Template
- Click Download Template for the data type you're importing:
- Guards (name, email, phone, role, etc.).
- Sites (name, address, type, status).
- Equipment (type, serial number, condition).
- Clients (name, contact info).
- Fill in the template with your data.
Step 3: Upload and Validate
- Upload the completed CSV file.
- The Validation Engine checks for:
- Required fields present.
- Valid email formats.
- No duplicate entries.
- Date format consistency.
- Role values match Atlock options.
- Review validation results.
- Fix any errors (download the error report).
Step 4: Data Cleaning
The Cleaning Engine normalizes your data:
- Name capitalization.
- Phone number formatting.
- Address standardization.
- Whitespace removal.
Step 5: Review and Import
- Preview the cleaned data.
- Confirm the import.
- Click Execute Import.
- Monitor the progress bar.
- Review the import summary.
Tips & Best Practices
- Back up your data first — Always keep a copy of your original data.
- Start with a small test — Import a few records first to verify the mapping.
- Use the template — Don't modify column headers.
- Check for duplicates — The validation engine flags duplicates, but manual review is recommended.
Troubleshooting
Import fails with validation errors
- Download the error report.
- Fix the flagged rows in your CSV.
- Re-upload the corrected file.
Data appears incorrect after import
- Check the column mapping — columns may have shifted.
- Verify date formats match expectations (DD/MM/YYYY vs MM/DD/YYYY).
Related Articles
- Onboarding Checklist for New Companies
- Configuring Company Settings
- Inviting Guards to the Platform