


Managing Zones and Regions
Zones and Regions let you group sites into geographic areas for easier management, reporting, and scheduling across multiple locations.
Accessing Zones & Regions
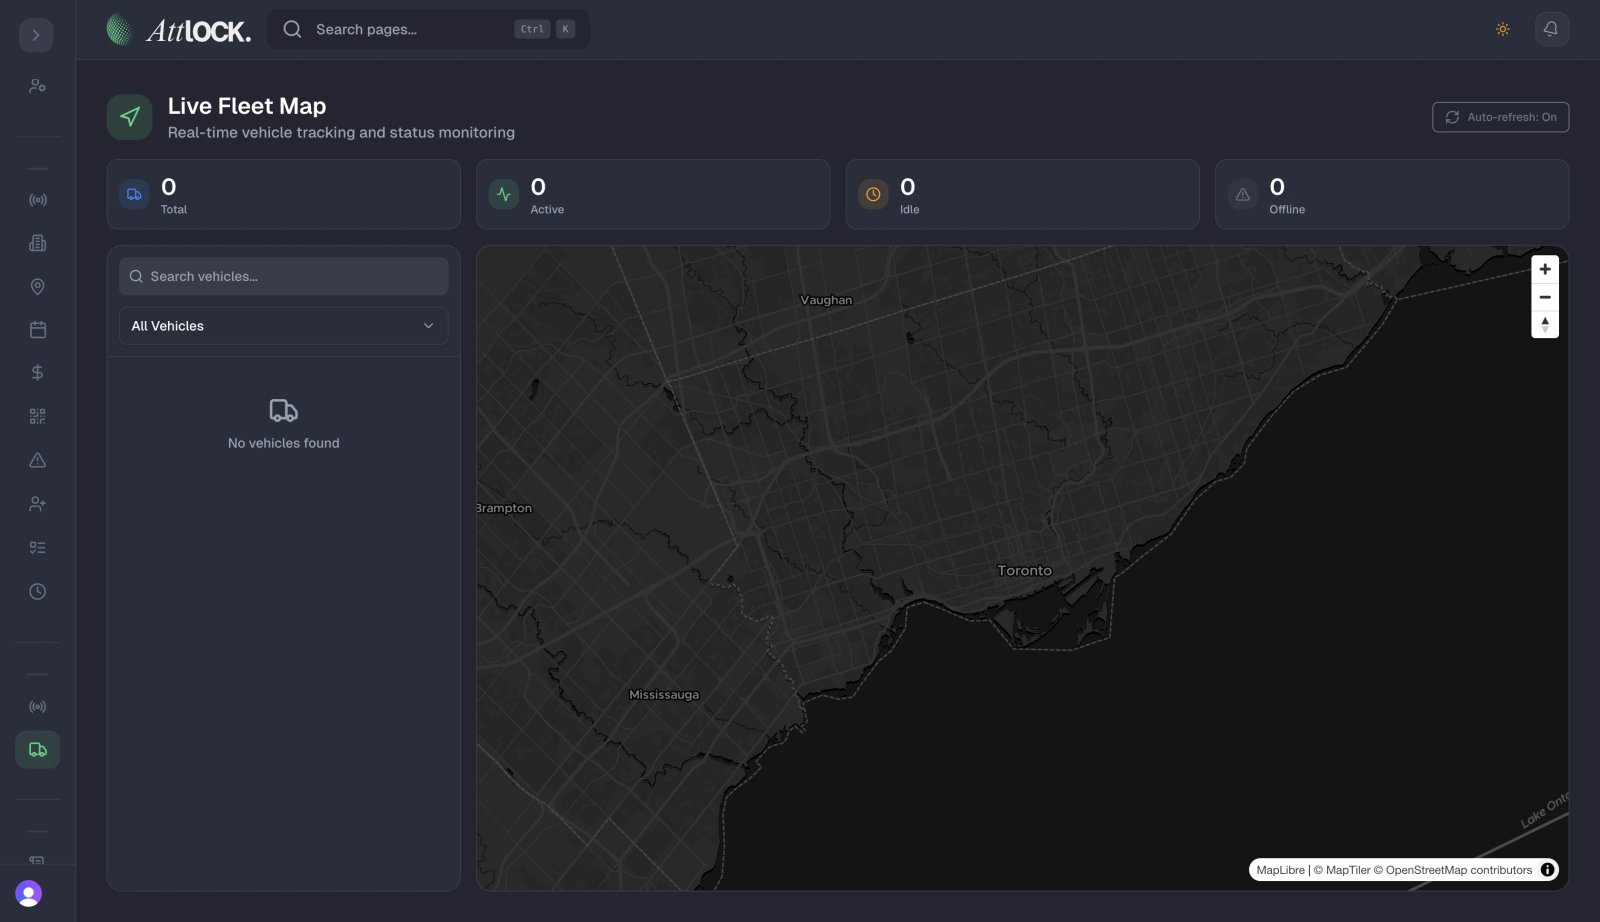
- Navigate to Operations > Zones & Regions in the sidebar.
- View all defined regions and their assigned sites.
Creating a Region
- Click Create Region.
- Fill in:
- Region Name — (e.g., "Downtown District", "Northern Suburbs", "Industrial Park").
- Description — Purpose or geographic scope of the region.
- Click Save.
Assigning Sites to Regions
- Open a region.
- Click Add Sites.
- Select sites from the list.
- Click Save.
A site can belong to one region at a time.
Benefits of Using Regions
Reporting
- Generate reports by region to compare performance across areas.
- Site comparison reports can filter by region.
Scheduling
- Schedule guards across a region rather than individual sites.
- Balance staffing levels across sites in the same region.
Management
- Assign regional supervisors responsible for a group of sites.
- Track regional KPIs on the analytics dashboard.
Tips & Best Practices
- Align regions with your organizational structure — If you have regional managers, create matching regions.
- Don't make regions too large — 5-15 sites per region is manageable.
- Use regions for client grouping — If a client has multiple sites, group them in a region for unified reporting.
Related Articles
- Creating a New Site
- Using the Analytics Dashboard
- Building Custom Reports with Report Builder
- Creating a New Shift