


Building Custom Reports with Report Builder
The Report Builder lets you create custom reports tailored to your exact operational needs, from guard activity summaries to incident trend analysis.
Accessing Report Builder
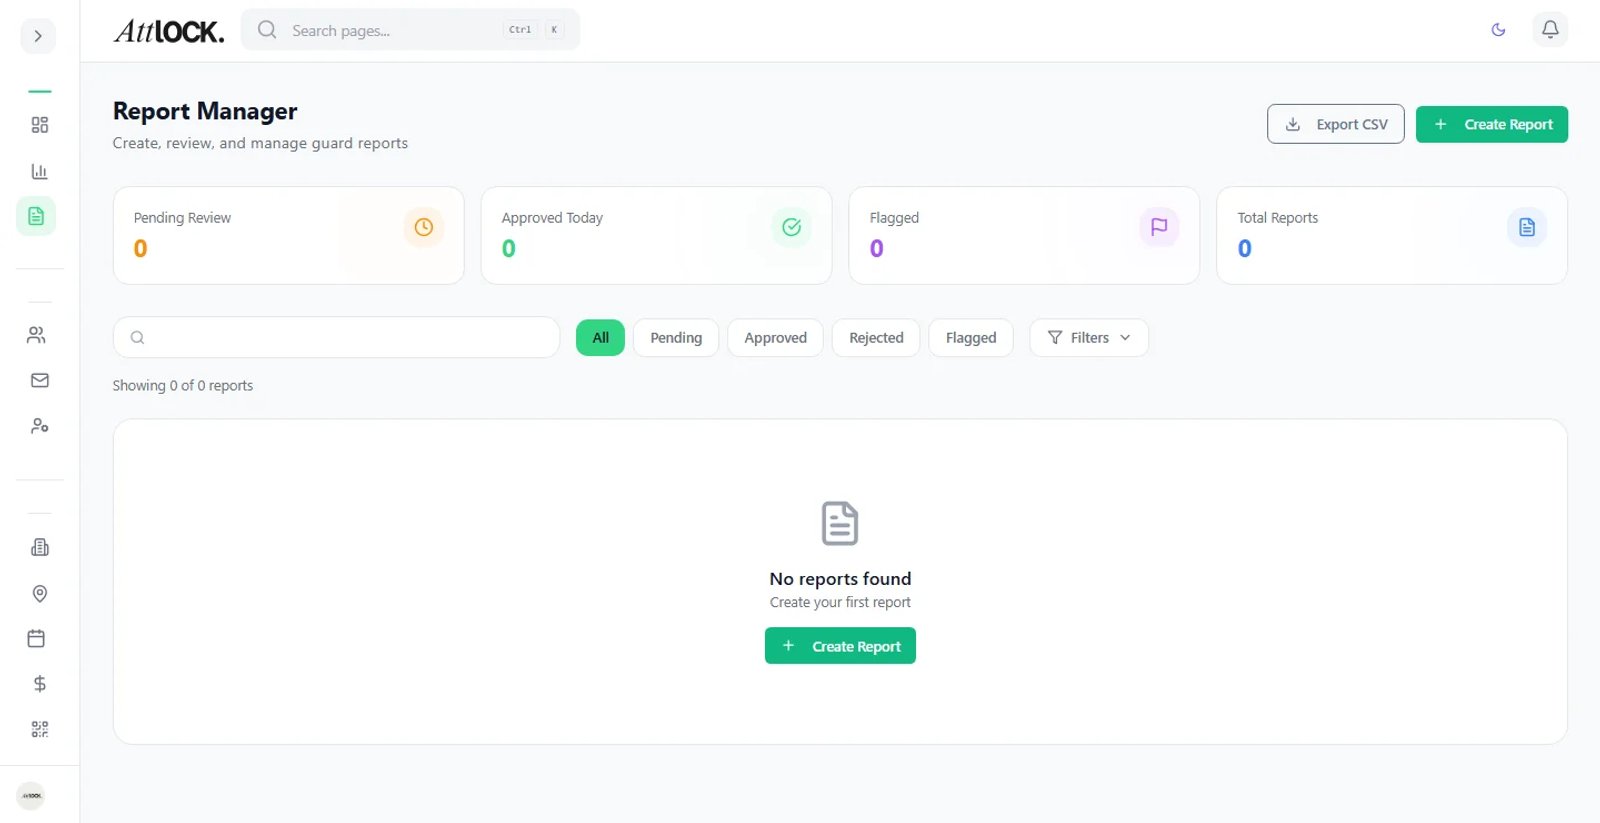
- Navigate to Overview > Reports > Report Builder in the sidebar.
- Click New Report to start from scratch, or select an existing report to modify.
Creating a New Report
Step 1: Choose Report Type
Select what kind of data your report should include:
- Shift Report — Guard clock-in/out data, hours worked, attendance.
- Incident Report — Incident details, types, response times.
- Patrol Report — Checkpoint scans, completion rates, missed checkpoints.
- Activity Report — Combined activity log across all operations.
- Custom — Select individual data fields from multiple sources.
Step 2: Select Date Range
- Choose a fixed date range or a rolling window (e.g., "Last 7 Days").
- Rolling windows update automatically when the report runs.
Step 3: Add Filters
Narrow down the data included in your report:
- By Site — Include only specific sites.
- By Guard — Filter to specific guards or teams.
- By Shift Type — Day, night, weekend, custom types.
- By Status — Active, completed, cancelled, etc.
- By Priority — For incident reports (low, medium, high, critical).
Step 4: Select Columns
Choose which data columns appear in the report:
- Click Add Column.
- Browse available fields or search by name.
- Drag columns to reorder them.
- Common fields include:
- Guard Name, Site, Date/Time, Duration
- Status, Type, Priority
- Notes, Attachments count
- GPS coordinates (for patrol reports)
Step 5: Add Grouping (Optional)
Group rows by a common field:
- Group by Site to see data organized per location.
- Group by Guard for individual performance breakdowns.
- Group by Date (day, week, month) for trend analysis.
Step 6: Add Summary Calculations (Optional)
Add summary rows at the bottom of grouped sections:
- Count — Number of records.
- Sum — Total (e.g., total hours worked).
- Average — Mean value (e.g., average response time).
- Min/Max — Lowest and highest values.
Step 7: Preview and Save
- Click Preview to see how the report looks with current data.
- Adjust columns, filters, or grouping as needed.
- Click Save Report.
- Give the report a name and optional description.
Running a Saved Report
- Go to Reports and find your saved report.
- Click Run — the report generates with the latest data.
- Results appear in a table format in the browser.
Exporting Reports
After running a report:
- CSV — Download raw data for spreadsheet analysis.
- PDF — Formatted document with your company branding.
- Click the Export button and select your format.
Scheduling Reports
Automate report generation and delivery:
- Open a saved report.
- Click Schedule.
- Configure:
- Frequency — Daily, Weekly, Monthly.
- Day/Time — When the report should run.
- Recipients — Email addresses (comma-separated).
- Format — PDF or CSV attachment.
- Click Save Schedule.
Using Report Templates
Atlock includes pre-built templates for common reports:
- Go to Reports > Templates.
- Browse available templates:
- Weekly Guard Summary
- Monthly Incident Overview
- Patrol Compliance Report
- Payroll Hours Summary
- Site Activity Log
- Click Use Template to create a report based on the template.
- Customize filters and columns as needed, then save.
Report Statistics
View aggregate statistics about your reports:
- Go to Reports > Report Stats.
- See:
- Total reports generated this month.
- Most-used report types.
- Average report generation time.
- Most active report users.
Tips & Best Practices
- Start with templates — Modify a template rather than building from scratch.
- Use rolling date ranges for scheduled reports so they always show the latest data.
- Create role-specific reports — A supervisor might need different data than a site manager.
- Keep reports focused — One report per purpose is easier to read than one mega-report.
- Share with clients — Export branded PDF reports for client review meetings.
Troubleshooting
Report shows no data
- Check your date range — it may not include any activity.
- Verify your site/guard filters aren't too restrictive.
- Ensure the selected report type matches the data you expect.
Report takes too long to generate
- Narrow the date range.
- Reduce the number of columns.
- Remove complex grouping or calculations.
Scheduled report not sending
- Verify recipient email addresses are correct.
- Check that the schedule is active (not paused).
- Ensure the report still has valid filters (e.g., the selected site still exists).
Related Articles
- Using the Analytics Dashboard
- Using Report Templates
- Setting Up Automated Report Delivery
- Exporting Report Data