


Creating a New Site
Sites are the physical locations where your guards operate. Each site has its own geofence, checkpoints, post orders, and guard assignments.
Accessing Site Management
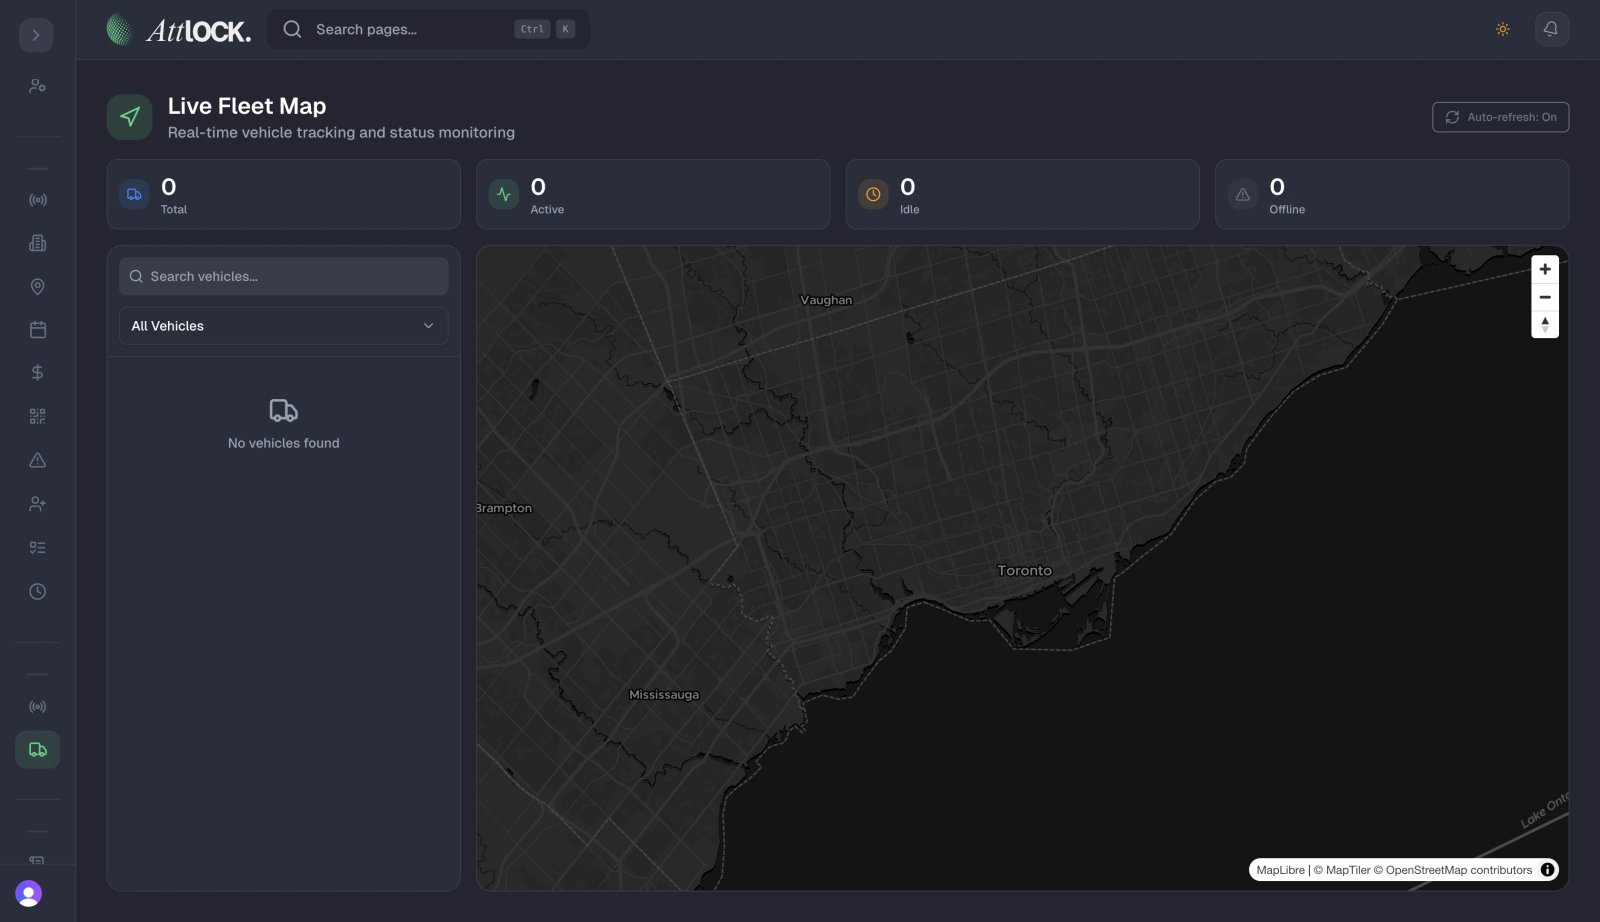
- Navigate to Operations > Sites in the sidebar (shortcut: `G` then `S`).
- You will see a list of all your company's sites.
Creating a Site
- Click the Add Site button.
- Fill in the site details:
Basic Information
- Site Name — A descriptive name (e.g., "Downtown Office Tower", "Warehouse Complex A").
- Site Code — A short unique identifier (e.g., "DOT-001").
- Address — Full street address. Start typing and select from address suggestions.
- Client — Which client this site belongs to (select from your clients list).
- Status — Active or Inactive.
Contact Information
- Site Contact Name — Primary on-site contact person.
- Contact Phone — Emergency phone number for the site.
- Contact Email — For site-related communications.
Operational Settings
- Operating Hours — When the site is active (24/7 or specific hours).
- Default Shift Template — Pre-assign a shift pattern to this site.
- Guard Capacity — Maximum number of guards on-site at once.
- Timezone — Override the company default if the site is in a different timezone.
- Click Create Site.
Setting Up the Geofence
A geofence defines the geographic boundary of the site. Atlock alerts you when guards enter or leave this boundary.
- Open your newly created site.
- Go to the Geofence tab.
- You will see a map centered on the site address.
Drawing a Geofence
Circle Geofence (Simple)
- The default is a circular geofence.
- Adjust the radius slider to set the boundary size.
- Drag the center point if the address marker isn't perfectly placed.
Polygon Geofence (Precise)
- Click Switch to Polygon.
- Click on the map to place boundary points.
- Close the polygon by clicking on the first point again.
- Drag individual points to refine the boundary.
- This is useful for irregularly shaped sites (L-shaped buildings, campus areas).
- Click Save Geofence.
Tip: Use satellite view on the map for more accurate geofence placement around buildings.
Adding Checkpoints
Checkpoints are specific locations within a site that guards must visit during patrols.
- Open the site and go to the Checkpoints tab.
- Click Add Checkpoint.
- Configure the checkpoint:
- Name — Descriptive label (e.g., "Main Entrance", "Parking Garage Level 2").
- Location — Click on the map to place the checkpoint, or enter coordinates.
- Type — NFC, QR Code, or GPS-based.
- Instructions — What the guard should check/do at this point.
- Click Save.
NFC Checkpoints
If using NFC tags:
- Select NFC as the checkpoint type.
- After creating the checkpoint, go to Operations > Patrols > NFC Tags.
- Register the NFC tag and link it to this checkpoint.
- Physically install the NFC tag at the checkpoint location.
QR Code Checkpoints
- Select QR Code as the checkpoint type.
- Atlock automatically generates a unique QR code.
- Click Download QR Code to print and install at the location.
Managing Post Orders
Post orders are standing instructions for guards at this site:
- Go to the Post Orders tab within the site.
- Click Add Post Order.
- Write the instructions (supports rich text formatting).
- Set the effective date range.
- Guards will see these orders in their mobile app when assigned to this site.
Site Documents
Upload reference documents for the site:
- Go to the Documents tab.
- Click Upload Document.
- Select files (maps, emergency plans, client contracts, etc.).
- Documents are accessible to guards on the mobile app.
Viewing Site Activity
Passdown Logs
- Go to the Passdown tab to see shift handover notes.
- Guards log passdowns at the end of each shift.
Reports
- Go to the Reports tab to see all reports filed at this site.
- Filter by date range and report type.
Editing a Site
- Open the site from the Sites list.
- Click Edit Site (pencil icon).
- Modify any fields.
- Click Save Changes.
Archiving a Site
When a site is no longer active:
- Open the site.
- Click Edit Site.
- Change status to Inactive.
- Inactive sites:
- Are hidden from scheduling and assignment lists.
- All historical data is preserved.
- Can be reactivated at any time.
Tips & Best Practices
- Use descriptive names — Include the neighborhood or building name for easy identification.
- Set up geofences carefully — Too small and guards will trigger false breach alerts; too large and breaches won't be detected.
- Place checkpoints at key locations — Entrances, exits, vulnerable areas, and high-value zones.
- Keep post orders current — Review and update post orders monthly or when client requirements change.
- Upload site maps — Guards appreciate having a site map available in the mobile app.
Troubleshooting
Geofence alerts triggering incorrectly
- The geofence radius may be too small. GPS accuracy is typically 5-15 meters.
- Increase the radius by 10-20 meters as a buffer.
- Check the breach alert delay setting (a few seconds delay filters GPS jitter).
Checkpoints not appearing for guards
- Verify the guard is assigned to the site.
- Ensure the checkpoint is in Active status.
- For NFC checkpoints, verify the NFC tag is registered and linked.
Can't create a site
- You need the `sites.create` permission.
- Verify your role in Access Control.
Related Articles
- Configuring Geofences and Boundaries
- Setting Up NFC Checkpoints at a Site
- Managing Post Orders for a Site
- Creating Zones and Areas