


Managing Patrol Routes and Checkpoints
Patrols ensure guards visit designated locations at specified intervals. Atlock supports NFC, QR code, and GPS-based checkpoint verification.
Accessing Patrols
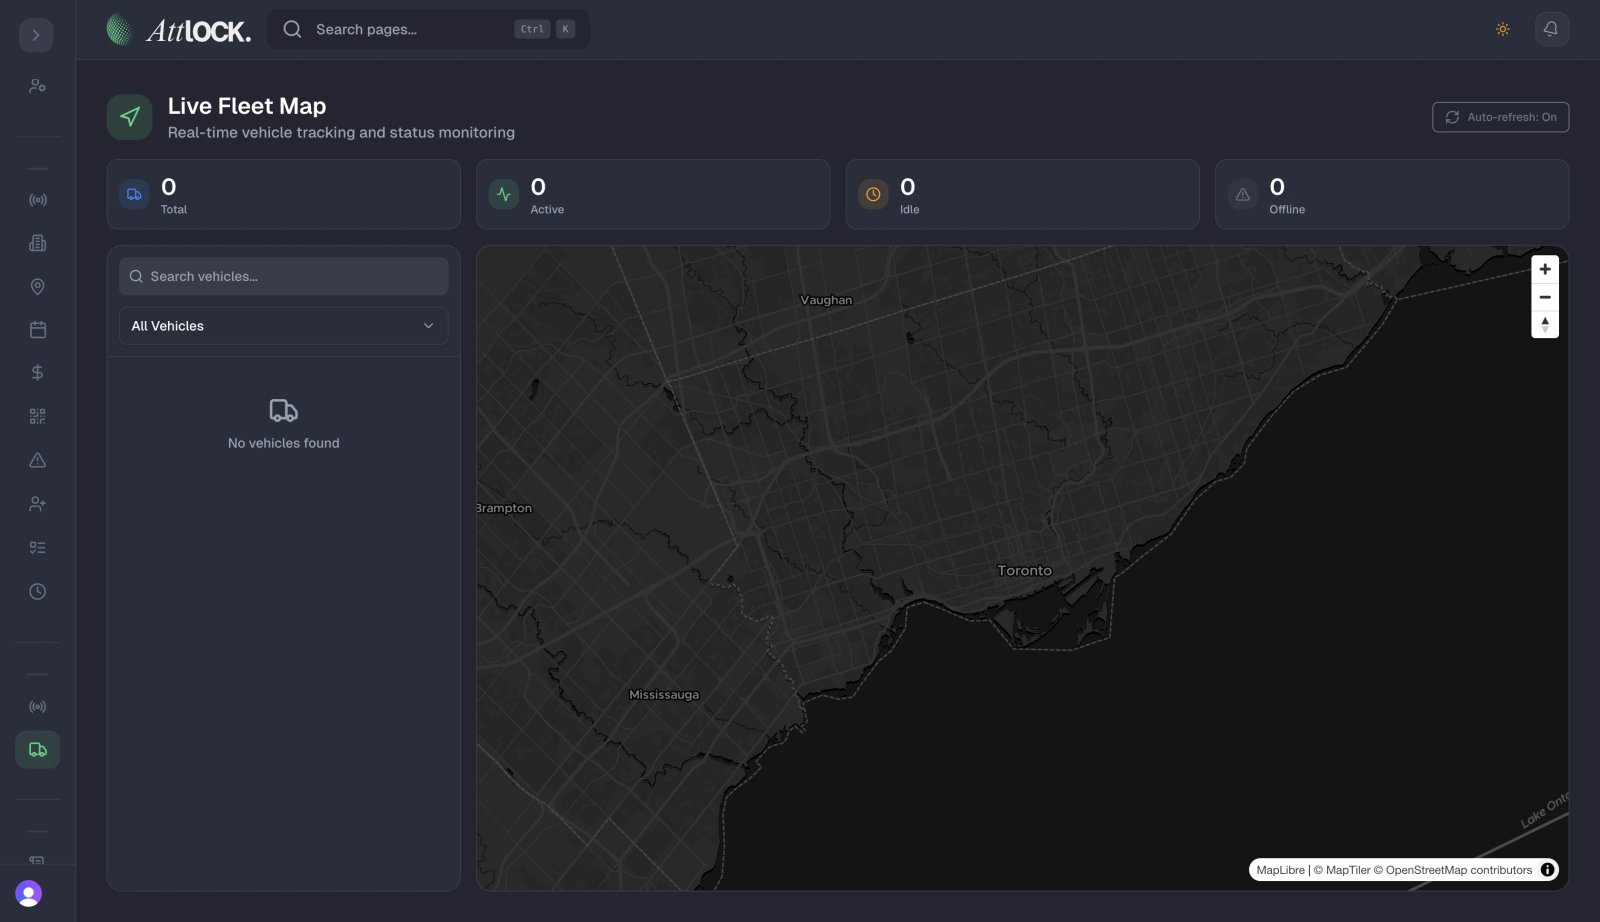
- Navigate to Operations > Patrol Manager in the sidebar.
- The Patrols page loads with multiple tabs.
Patrols Tabs
Overview Tab
Summary of patrol activity:
- Active patrols.
- Completion rates.
- Missed checkpoints.
- Guard compliance scores.
Checkpoints Tab
Manage all patrol checkpoints:
- Add new checkpoints.
- Edit existing checkpoints.
- Delete or deactivate checkpoints.
- Reorder checkpoint sequence.
QR Codes Tab
Manage QR code checkpoints:
- Generate QR codes per checkpoint.
- Download QR codes for printing.
- QR code scan history.
Routes Tab
Define guard patrol routes:
- Create routes linking multiple checkpoints.
- Set checkpoint sequence.
- Estimate time between checkpoints.
- Assign routes to shifts or guards.
Reports Tab
- Patrol completion rates.
- Check-in history.
- Guard performance by route.
- Missed checkpoint reports.
History Tab
- Full timeline of all patrol activity.
- Filter by guard, route, date.
- Export patrol data.
Creating a Checkpoint
- Go to the Checkpoints tab.
- Click Add Checkpoint.
- Fill in the details:
- Name — Descriptive label (e.g., "Main Lobby", "Parking P2 East").
- Location — Click on the map to place, or enter coordinates.
- Description — What the guard should check or do here.
- Scan Type — NFC Tag, QR Code, or GPS Proximity.
- Scheduled Check Time — When the checkpoint should be visited.
- Click Save.
NFC Tag Management
- Go to Operations > Patrols > NFC Tags (or from the Checkpoints tab).
- Register NFC tags:
- Scan the tag using an NFC-enabled device.
- Link to checkpoint — Associate the tag with a specific checkpoint.
- Label — Give the tag a human-readable name.
- Install the physical NFC tag at the checkpoint location.
- Guards scan the tag with their mobile phone during patrols.
NFC Scan History
View all NFC scans:
- Guard who scanned.
- Timestamp.
- Checkpoint location.
- On-time or late indicator.
QR Code Management
- Go to the QR Codes tab.
- For each checkpoint:
- Generate — Atlock creates a unique QR code.
- Download — Save the QR code image for printing.
- Print — Print on weather-resistant labels.
- Install QR codes at checkpoint locations.
- Guards scan with their mobile app camera.
Creating a Patrol Route
- Go to the Routes tab.
- Click Create Route.
- Configure:
- Route Name — (e.g., "Perimeter Patrol", "Floor Sweep").
- Checkpoints — Add checkpoints in order.
- Estimated Duration — Total time to complete the route.
- Frequency — How often the route should be completed per shift.
- Click Save.
Assigning Patrols
Patrols can be assigned through:
- Shift assignment — Link a route to a specific shift.
- Guard assignment — Assign directly to a guard.
- Site assignment — All guards at a site follow site patrol routes.
Monitoring Patrol Completion
Real-Time
- The Patrols Overview shows which checkpoints have been scanned today.
- Missed checkpoints trigger alerts to supervisors.
Historical
- The Reports tab shows completion rates over time.
- Drill down by guard, route, or site.
- Export data for compliance documentation.
Tips & Best Practices
- Place NFC/QR tags at eye level in weatherproof locations.
- Test all tags after installation — Have a guard do a test scan.
- Set realistic checkpoint schedules — Account for travel time between points.
- Review completion reports weekly — Identify guards who consistently miss checkpoints.
- Use GPS proximity as a backup for environments where NFC/QR isn't practical.
Troubleshooting
Guard can't scan NFC tag
- Ensure their phone has NFC enabled (Settings > NFC on the device).
- The phone must be within 1-2cm of the NFC tag.
- Some phone cases may interfere with NFC scanning.
- The NFC tag may need replacement if damaged.
QR code not scanning
- Ensure adequate lighting.
- Clean the QR code surface.
- Check if the QR code is damaged or faded.
- Regenerate and reprint if needed.
Checkpoint appearing as missed when guard visited
- The guard may have scanned outside the scheduled window.
- GPS-based checkpoints require the guard to be within the configured radius.
- Check the scan history for exact timestamps.
Related Articles
- Creating a New Site
- Setting Up NFC Checkpoints at a Site
- Creating a New Shift
- Building Custom Reports with Report Builder