


Configuring Company Settings
Your company settings control the core identity and operational defaults for your entire Atlock account. Setting these up correctly ensures a smooth experience for all users.
Accessing Company Settings
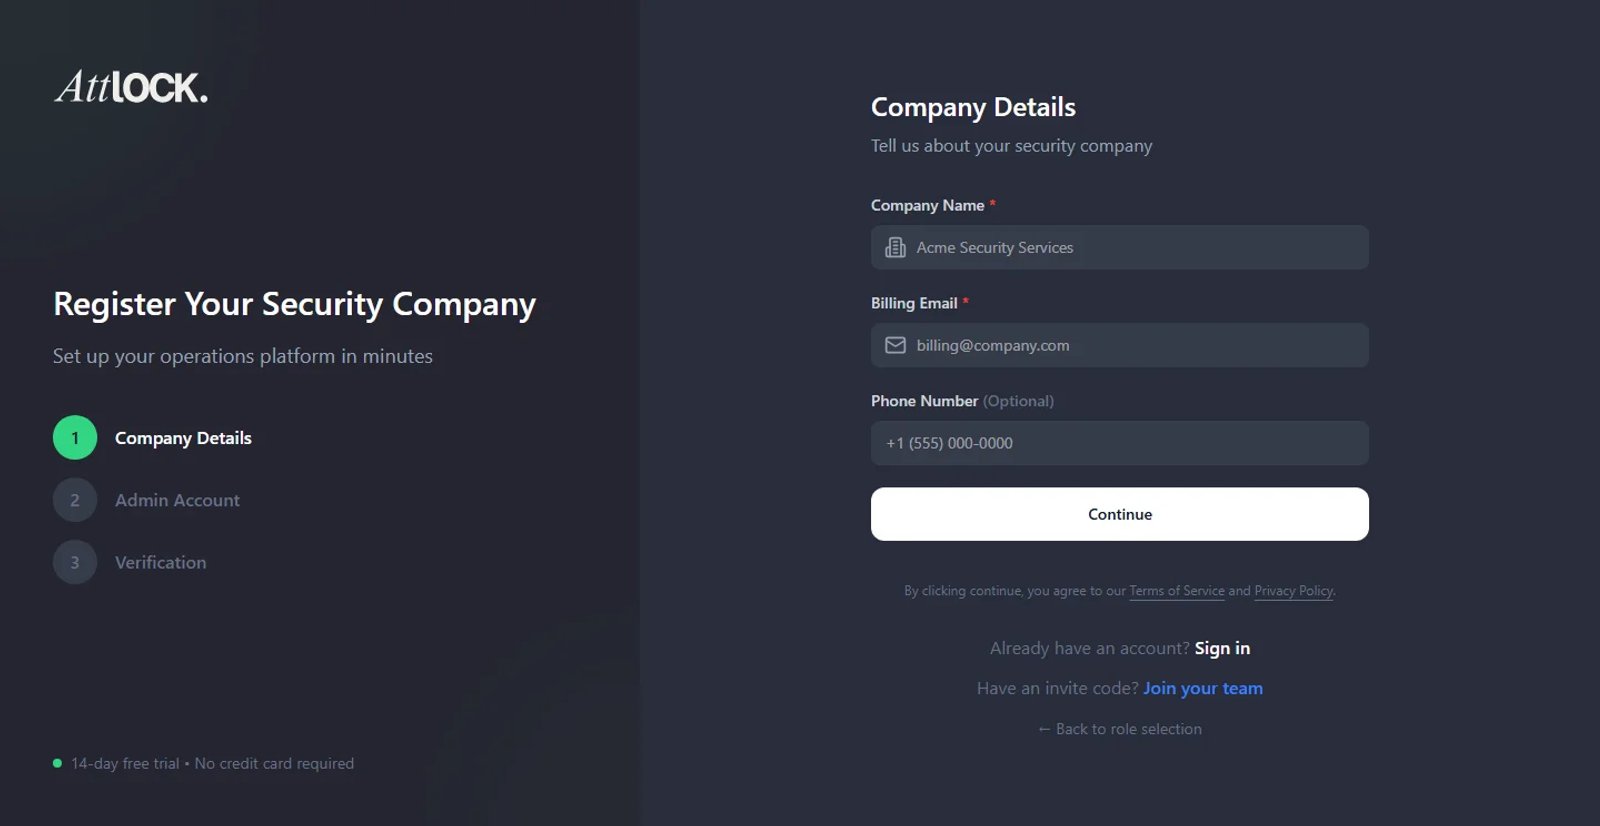
- Navigate to Settings in the sidebar (or press `G` then `T`).
- The settings page has multiple tabs for different configuration areas.
Company Profile
Basic Information
- Click the Profile tab.
- Update your company details:
- Company Name — Displayed across the platform and in reports.
- Company Logo — Upload your logo (recommended size: 256x256px, PNG or SVG). This appears in the sidebar, reports, and client-facing pages.
- Industry — Select your industry (Security, Facilities Management, etc.).
- Company Size — Helps Atlock optimize your experience.
- Click Save Changes.
Contact Information
- Primary Email — Used for system notifications and billing.
- Phone Number — Emergency contact number.
- Address — Company headquarters address (used in reports and invoices).
Timezone & Locale
- Go to Settings > General.
- Set your Default Timezone — This affects how shift times, reports, and logs are displayed for all users.
- Set your Date Format — Choose between DD/MM/YYYY, MM/DD/YYYY, or YYYY-MM-DD.
- Set your Time Format — 12-hour or 24-hour clock.
Important: Changing the timezone affects how existing data is displayed but does not alter stored timestamps. All data is stored in UTC internally.
Notification Preferences
- Navigate to Settings > Notifications.
- Configure which events trigger notifications:
- Panic Alerts — Always enabled (cannot be disabled for safety).
- Geofence Breaches — Toggle on/off, set severity threshold.
- Missed Clock-ins — Alert when guards miss their shift start.
- Incident Reports — Notify on new incidents.
- Shift Changes — Notify on swaps, cancellations, and new assignments.
- Choose delivery channels for each notification type:
- In-app notification
- Push notification (mobile admin app)
Operational Defaults
Shift Defaults
- Default Shift Duration — Standard shift length (e.g., 8 hours).
- Early Clock-in Window — How many minutes before shift start guards can clock in.
- Late Threshold — Minutes after shift start before a guard is marked late.
- Auto Clock-out — Automatically end a shift after a set period.
Geofence Defaults
- Default Geofence Radius — Standard radius for new site geofences.
- Breach Alert Delay — Time outside geofence before triggering an alert.
Report Defaults
- Default Report Format — PDF or CSV.
- Report Logo — Override the company logo specifically for reports.
- Report Footer — Custom text added to all generated reports.
Branding & White Label
If your subscription includes white-label features:
- Go to Settings > Branding.
- Customize:
- Primary Color — Used for buttons, links, and accents.
- Secondary Color — Used for headers and sidebar.
- Custom Domain — Map your own domain (e.g., security.yourcompany.com).
- Email Templates — Customize notification emails with your branding.
Note: White-label features require the Enterprise subscription tier.
Tips & Best Practices
- Set up your timezone and locale first — it affects how all other data is displayed.
- Upload a high-resolution logo for best results in reports and client portals.
- Review notification settings with your team to avoid alert fatigue.
- Use the Early Clock-in Window to give guards flexibility without logging premature hours.
Troubleshooting
Settings changes not saving
- Ensure you have Company Admin permissions.
- Check for validation errors (red highlights on fields).
- Try refreshing the page and re-saving.
Logo not displaying correctly
- Use PNG or SVG format.
- Recommended minimum size is 256x256 pixels.
- Very large files may take a moment to process.
Related Articles
- Understanding the Admin Dashboard
- Understanding Roles and Permissions
- Setting Up Your First Shift Schedule
- Onboarding Checklist for New Companies