


Generating Client Invoices
Attlock allows you to generate professional invoices based on the hours your guards have worked at each client site. Invoices pull data directly from approved timesheets, so billing is accurate and requires minimal manual input.
Accessing Invoices
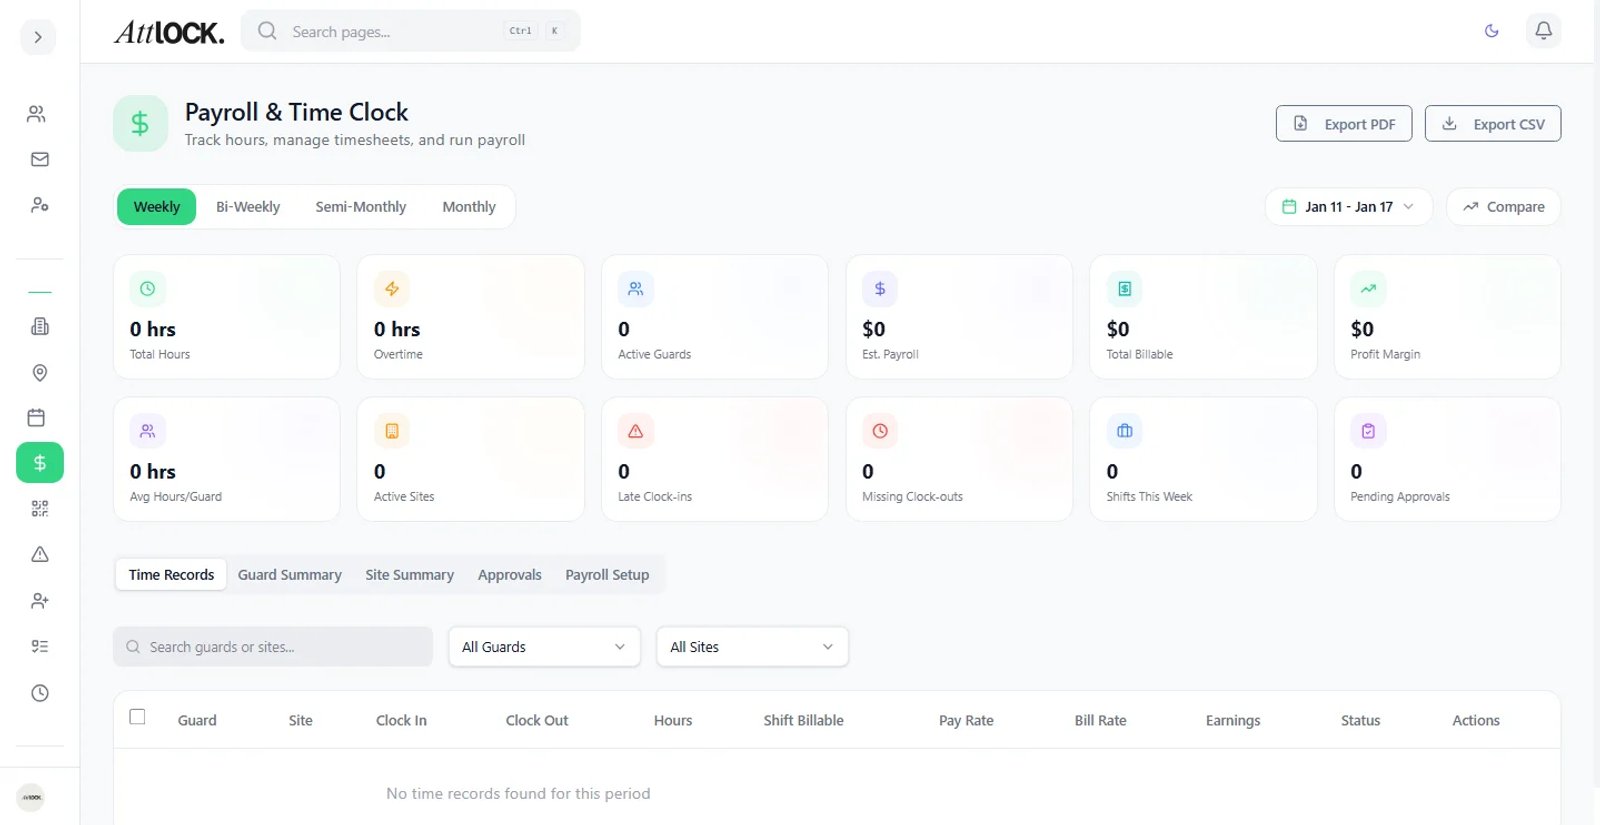
- Open the admin sidebar and navigate to Invoices
- The Invoices page shows all existing invoices with their status, client name, amount, and date
- Use the filters at the top to view invoices by status, client, or date range
Creating a New Invoice
- Click the Create Invoice button in the top-right corner
- Select the Client you are billing
- Choose the Billing Period — the date range for the hours you want to invoice
- Attlock automatically pulls all approved timesheet entries for that client and period
- Review the auto-generated line items, which typically include:
- Guard name
- Site name
- Hours worked (regular and overtime)
- Hourly billing rate
- Line total
- Add any additional line items manually if needed (e.g., equipment charges, travel fees)
- Review the invoice total and click Generate Invoice
Customizing Invoice Templates
You can customize how your invoices look before sending them to clients.
- Go to Settings > Invoice Templates
- Upload your company logo to appear on all invoices
- Set your company address and contact details
- Choose a payment terms default (e.g., Net 15, Net 30, Net 60)
- Add any standard footer text, such as bank details or payment instructions
- Click Save Template
All new invoices will use these settings automatically.
Sending Invoices to Clients
Once an invoice is generated, you can send it directly from Attlock.
- Open the invoice you want to send
- Click the Send button
- Confirm the client email address (pulled from the client profile)
- Add an optional message to include in the email
- Click Send Invoice
The client receives the invoice as a PDF attachment along with a link to view it online. You can also download the PDF yourself for your records.
Tracking Payment Status
Each invoice has a status that updates as payments are processed:
- Draft — Invoice is created but not yet sent
- Sent — Invoice has been emailed to the client
- Viewed — The client has opened the invoice
- Paid — Payment has been received and recorded
- Overdue — The payment due date has passed without payment
To manually update a payment status, open the invoice and click Record Payment.
Overdue Alerts
Attlock notifies you when invoices become overdue.
- An alert appears on the Invoices page highlighting overdue items in red
- You receive a notification when an invoice passes its due date
- You can send a Payment Reminder email directly from the overdue invoice with one click
Tips
- Always approve timesheets before generating invoices to ensure accuracy
- Use consistent billing periods (weekly, bi-weekly, or monthly) for easier tracking
- Export invoices to PDF for offline record-keeping
- Review the invoice preview before sending to catch any discrepancies