


Setting Up Emergency Response Protocols
This article is for Administrators and Company Admins.
When a critical incident occurs — a guard activates a panic alarm, a trespasser is detected, or a medical emergency unfolds — your team needs to respond immediately and consistently. Attlock's emergency response protocol tools let you pre-define escalation chains, response checklists, and notification rules so that every emergency is handled the same way, every time.
What Emergency Response Protocols Cover
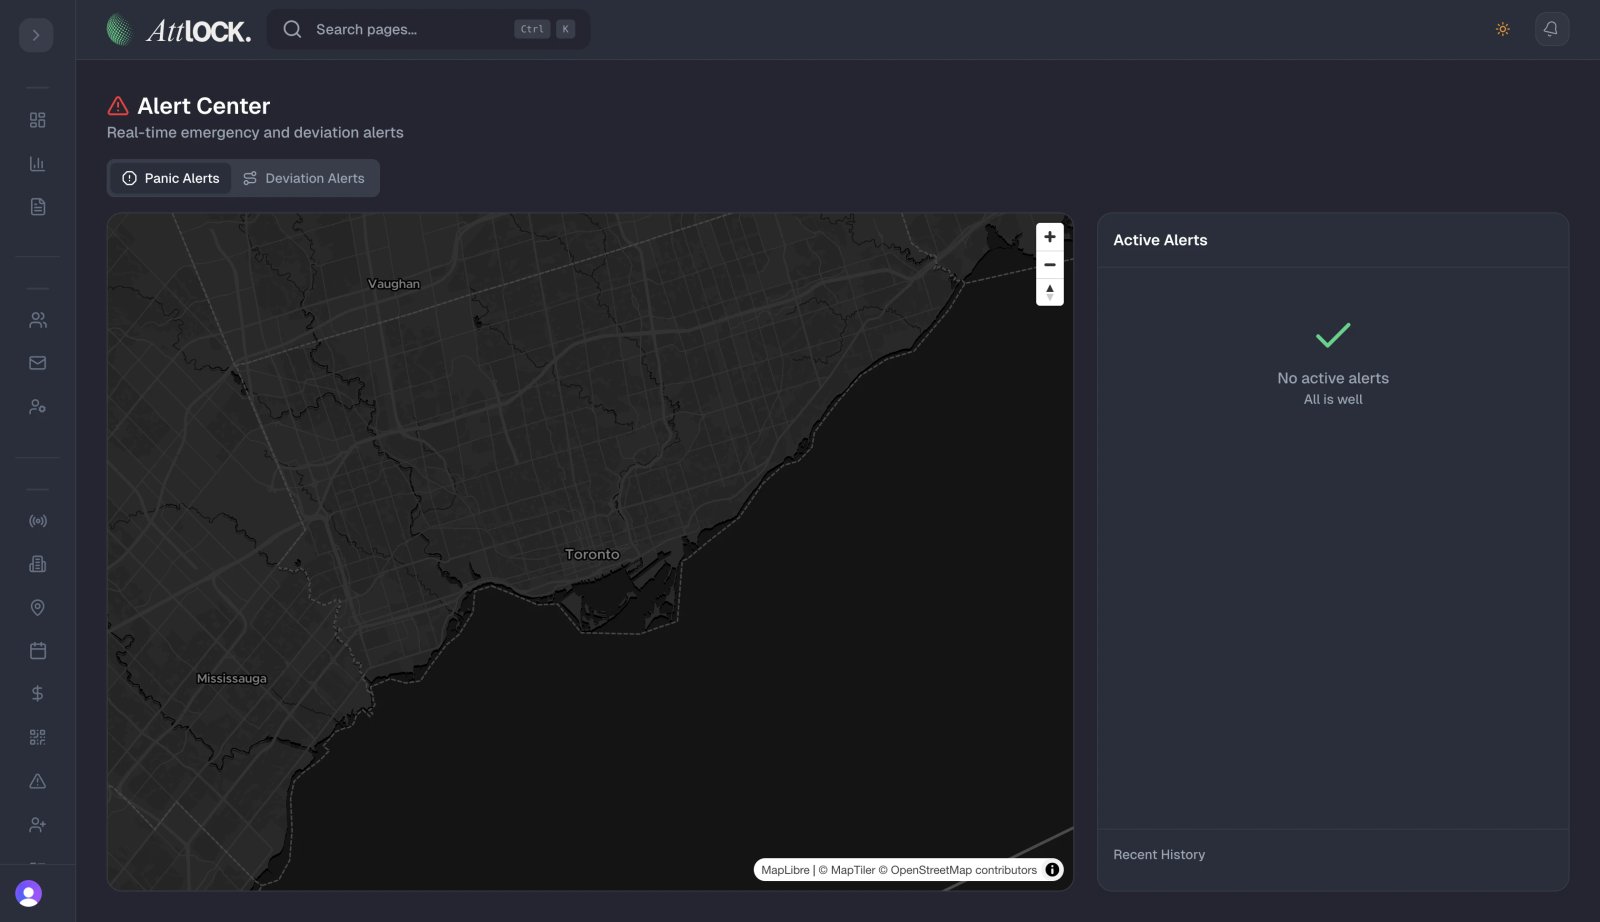
- Panic alert response — what happens when a guard triggers the SOS button
- Incident escalation chains — who is notified at each severity level
- Response checklists — step-by-step actions for specific emergency types
- Site-specific emergency contacts — police, fire, ambulance, and client contacts per site
- Automated notifications — who gets alerted and how quickly
Accessing Protocol Settings
Navigate to Settings → Emergency Response to manage company-wide protocols. Site-specific overrides are configured at Sites → [Site Name] → Emergency Contacts & Protocols.
Configuring Panic Alert Response
When a guard presses the SOS button in the Attlock mobile app, the platform immediately:
- Sends a push notification to all online supervisors.
- Triggers the panic alert workflow defined in your protocol.
- Logs the guard's last known GPS location.
- Opens a live incident in the Command Center.
To configure the panic alert workflow:
- Go to Settings → Emergency Response → Panic Alert Protocol.
- Set the Primary Responder — the first person notified (typically the on-duty supervisor).
- Set the Escalation Delay — if the primary responder does not acknowledge within this time (e.g., 2 minutes), the alert escalates.
- Add Escalation Levels — each level adds more recipients and can trigger additional actions:
- Level 1: On-duty supervisor (0 min)
- Level 2: Operations Manager (2 min)
- Level 3: Company Admin + Client Emergency Contact (5 min)
- Toggle Auto-Call if your plan includes automated phone calls to responders (requires telephony integration).
- Save.
Creating Response Checklists
Response checklists ensure responders follow a consistent procedure for each emergency type.
- Go to Settings → Emergency Response → Response Checklists.
- Click New Checklist.
- Select the Emergency Type — Medical, Fire, Trespass, Theft, Assault, Panic Alarm, Natural Disaster, or Custom.
- Add checklist steps in order:
- Each step has a description and an optional time target (e.g., "Contact emergency services within 1 minute").
- Mark steps as Mandatory if they must be completed before the incident can be closed.
- Assign the checklist to All Sites or specific sites.
- Save.
When an incident of the matching type is created, the checklist automatically appears in the incident record for the responding supervisor to work through.
Site-Specific Emergency Contacts
Each site should have its own emergency contact list:
- Go to Sites → [Site Name] → Emergency Contacts.
- Add contacts for:
- Emergency Services — local police, fire, ambulance numbers
- Client Contacts — the client's on-call manager and security contact
- Building Management — for access, utilities, and evacuation coordination
- Internal Escalation — your own operations manager and on-call supervisor
- For each contact, add name, role, phone number, and email.
- Mark one contact as the Primary for each category.
These contacts are displayed prominently in the Command Center when an incident at that site is active.
Incident Severity Levels and Escalation
Define what each severity level means and who is notified:
| Level | Label | Example | Auto-Notify | ------- | ------- | --------- | ------------- | 1 | Low | Minor disturbance | Supervisor | 2 | Medium | Trespass, minor theft | Supervisor + Ops Manager | 3 | High | Assault, major theft | Supervisor + Ops Manager + Company Admin | 4 | Critical | Panic alarm, weapon, fire | All of the above + Client Emergency Contact |
|---|
Configure these at Settings → Emergency Response → Severity Levels.
Testing Your Protocols
Run a tabletop exercise before going live:
- Go to Settings → Emergency Response → Test Protocol.
- Select a protocol and click Run Test.
- Attlock sends test notifications to all configured recipients, clearly marked as a drill.
- Verify that all recipients received the notification and know how to respond.
- Review the test log to confirm escalation timing was correct.
Best Practices
- Test protocols quarterly — personnel and contact details change; keep protocols current.
- Keep escalation chains short — more than 3 levels creates confusion under pressure.
- Assign a named backup for every role — if the primary responder is unavailable, the backup must be defined.
- Review after every real incident — use post-incident reviews to identify gaps in your protocol.
- Share protocols with clients — clients should know what to expect when an incident occurs at their site.
Related Articles
- Incidents & Investigations
- Command Center & Dispatch
- Live Tracking & Welfare Checks
- Guard Wellness Monitoring
- Managing Sites