


Setting Up Automated Email Reports
This article is for Clients.
Attlock can automatically send security reports to your email on a schedule you define. Instead of logging in to check on things manually, you can have daily summaries, weekly overviews, or custom reports delivered straight to your inbox — and to anyone else on your team who needs to stay informed.
Where to Configure Automated Reports
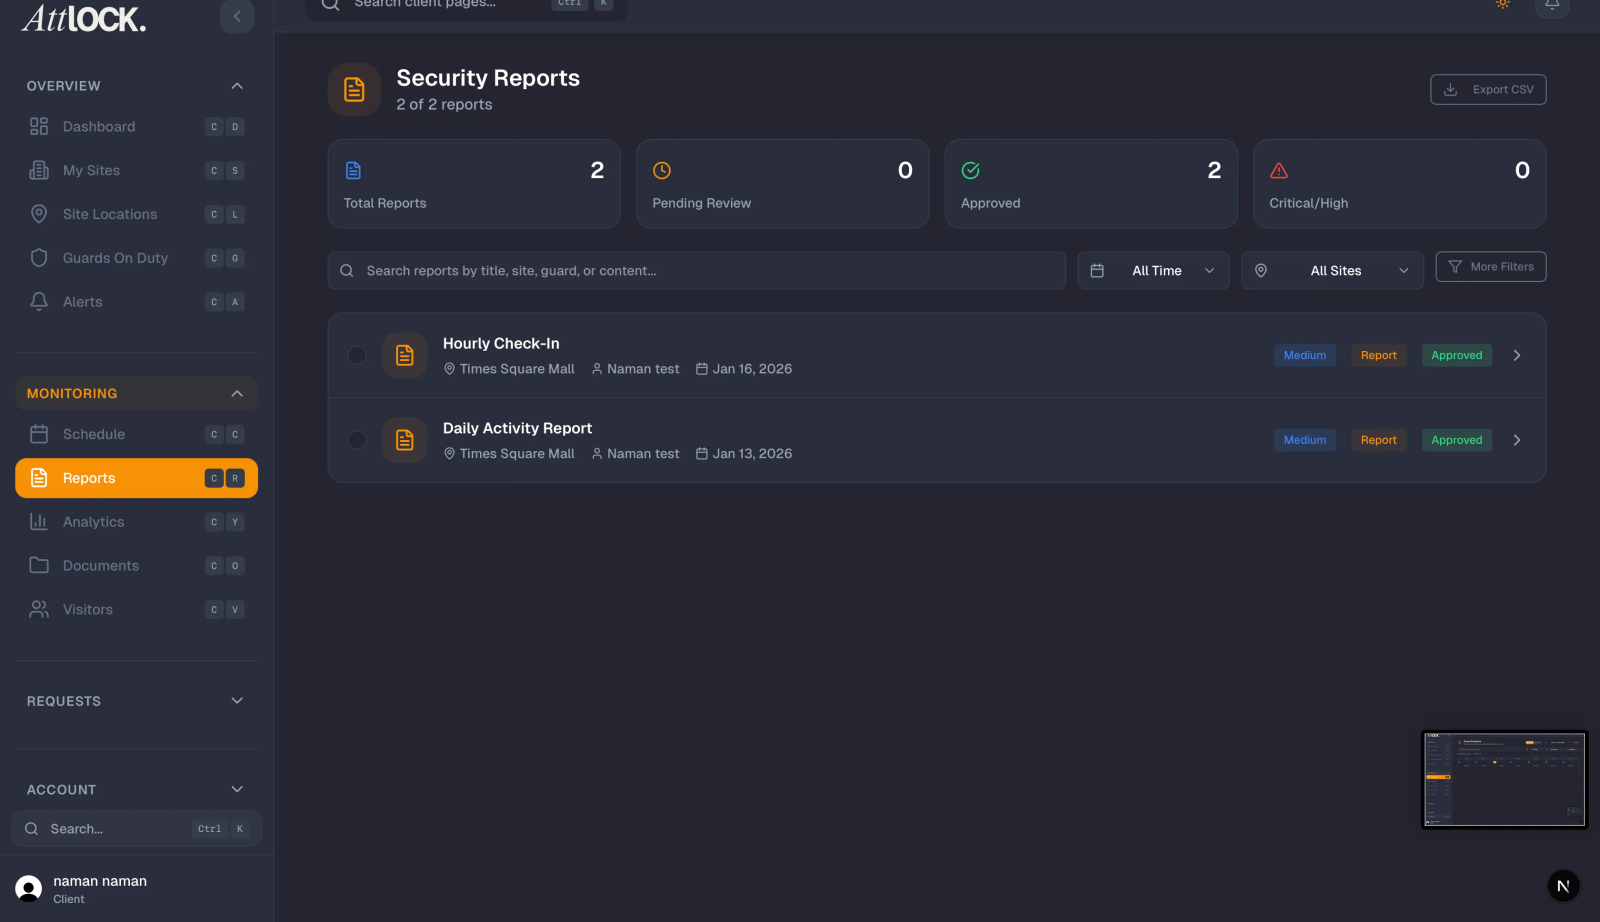
- Log in to the Attlock client portal.
- Go to Settings in the left navigation menu.
- Select Automated Reports.
This page lists all your currently configured report schedules. If you haven't set any up yet, the list will be empty.
Creating a New Report Schedule
Click Add Report Schedule to create a new automated report. You'll be prompted to configure:
Report Type
Choose what the report covers:
- Daily Activity Summary — guard check-ins/outs, patrol completions, and any incidents from the previous day
- Weekly Coverage Overview — a summary of scheduled vs. actual guard hours across all sites for the past week
- Incident Report Digest — a list of all incidents logged in the selected period, grouped by site and severity
- Visitor Log Summary — a record of all visitor check-ins and check-outs across your sites
- Custom Report — combine any of the above data points into a single report
Sites
Select which sites the report should cover. You can choose all sites or pick specific ones. This is useful if different team members are responsible for different locations.
Schedule
Set how often the report is sent:
- Daily — choose the time of day (e.g., 7:00 AM every morning)
- Weekly — choose the day and time (e.g., every Monday at 8:00 AM)
- Monthly — choose the day of the month and time
Recipients
Add the email addresses that should receive the report. You can add multiple recipients — for example, your facilities manager, your operations lead, and yourself. Recipients don't need to have an Attlock account.
Report Format
Choose between PDF (formatted, printable) or CSV (raw data, useful for importing into spreadsheets). Some report types support both formats.
Editing or Pausing a Report Schedule
To change an existing schedule, click the three-dot menu next to it and select Edit. To temporarily stop a report without deleting it, select Pause. Paused schedules can be resumed at any time.
Sending a Test Report
Before relying on a new schedule, it's a good idea to send a test. Click Send Test on any configured schedule to receive a sample report immediately. This lets you verify the format and content before the first scheduled delivery.
Troubleshooting Missing Reports
If you're not receiving scheduled reports:
- Check your spam or junk folder — reports come from `reports@attlock.com`.
- Add `reports@attlock.com` to your safe senders list.
- Verify the recipient email address is correct in your schedule settings.
- Check that the schedule is not paused.
If the issue persists, contact your security provider or reach out via the Help & Support section in the portal.