


Scheduling Automated Reports
Automated reports let you receive key security data on a recurring schedule without manually generating reports each time. Set up daily incident summaries, weekly patrol compliance snapshots, or monthly timesheets and have them delivered directly to your inbox or your team's inboxes.
Navigating to Automated Reports
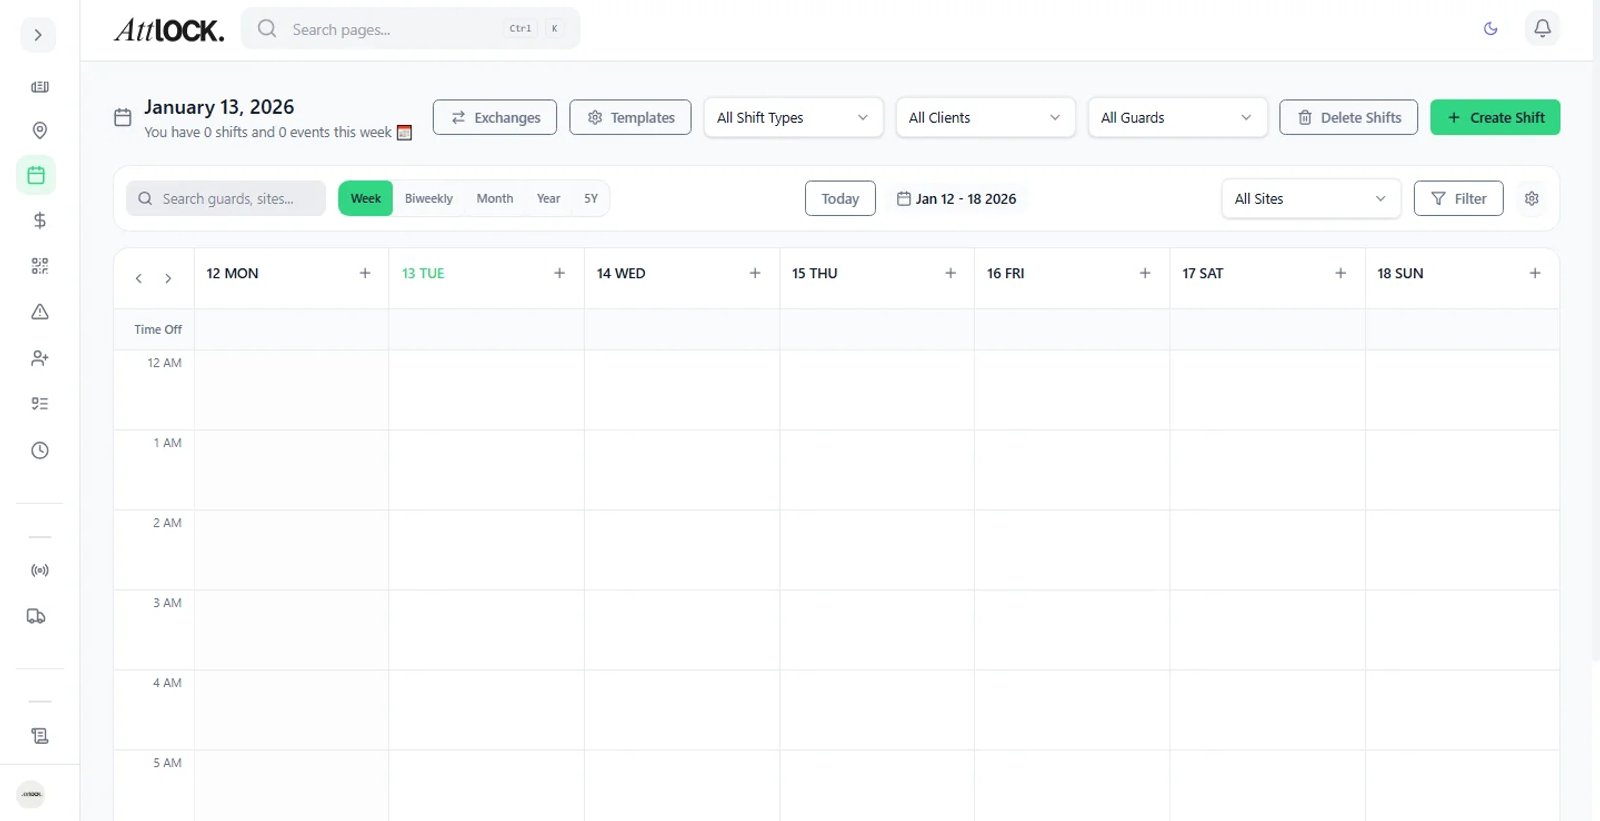
- Log in to the Attlock admin dashboard.
- In the left sidebar, navigate to Admin > Reports.
- Select the Automated Reports tab at the top of the Reports page.
You will see a list of all existing report schedules, including their frequency, last delivery date, and status.
Creating a New Report Schedule
To set up a new recurring report:
- Click Create Schedule in the top-right corner of the Automated Reports tab.
- Enter a schedule name — a descriptive label like "Weekly Patrol Compliance - Downtown Sites."
- Select a report type from the dropdown (see Available Report Types below).
- Choose the sites to include. You can select individual sites, a region, or all sites.
- Set the frequency — daily, weekly, or monthly.
- If weekly, select the day of the week the report should be generated. If monthly, select the day of the month.
- Set the delivery time — the time of day the report will be generated and sent.
- Add recipients by entering email addresses. You can add multiple recipients.
- Select the report format — PDF, CSV, or both.
- Click Save Schedule.
The first report will be generated at the next scheduled time after creation.
Available Report Types
| Report Type | Description | ------------- | ------------- | Incident Summary | A summary of all incidents reported during the period, including type, severity, site, and resolution status | Patrol Compliance | Checkpoint completion rates, missed scans, patrol tour durations, and guard-by-guard compliance scores | Timesheet Report | Guard clock-in and clock-out times, total hours worked, overtime, and late arrivals for the period | Site Comparison | Side-by-side performance metrics across selected sites — incident counts, patrol scores, and staffing levels |
|---|
Each report type includes a date range matching the schedule frequency. A daily report covers the previous 24 hours, a weekly report covers the previous 7 days, and a monthly report covers the previous calendar month.
Setting Frequency and Timing
Choose the frequency that matches your operational needs:
- Daily — Best for incident summaries and timesheet tracking where you need day-to-day visibility. Reports are generated each morning for the previous day.
- Weekly — Ideal for patrol compliance and site comparisons. Select which day of the week you want to receive the report.
- Monthly — Suitable for executive-level summaries, billing reconciliation, and long-term trend analysis. Reports are generated on your chosen day of the month.
All reports are generated at the delivery time you specify, using your account timezone.
Managing Recipients
The recipient list determines who receives the report by email:
- Add any valid email address — recipients do not need an Attlock account to receive reports.
- Add multiple recipients to distribute reports across your team.
- Remove a recipient by clicking the X next to their email address in the schedule editor.
Recipients receive the report as an email attachment in the selected format.
Choosing Report Format
- PDF — Formatted reports with charts, tables, and visual summaries. Best for stakeholder distribution and archival.
- CSV — Raw tabular data suitable for importing into spreadsheets, BI tools, or custom analysis workflows.
- Both — Attach both PDF and CSV versions to the delivery email.
Editing and Pausing Schedules
To modify an existing schedule:
- Go to Reports > Automated Reports.
- Click the schedule you want to edit.
- Make your changes — update sites, frequency, recipients, or format.
- Click Save Changes.
To temporarily pause a schedule without deleting it:
- Open the schedule.
- Toggle the Active switch to off.
- The schedule will stop generating reports until you re-enable it.
To delete a schedule permanently, click Delete Schedule at the bottom of the editor and confirm.
Report Delivery and History
Each scheduled report keeps a delivery history:
- Last delivered — The date and time of the most recent successful delivery.
- Delivery status — Whether the last report was sent successfully or encountered an error.
- History log — Click View History to see a list of all past deliveries with dates and download links.
Past reports are stored for 90 days. You can download any previously generated report from the history log.
If a delivery fails due to an email error, Attlock will retry once and flag the schedule with a warning. Check the recipient email addresses and update them if needed.
Related Articles
- Reports and Analytics
- Patrols and Checkpoints
- Using the Operations Center Dashboard
- Payroll Management