


Importing Guards via CSV
The Data Migration wizard lets you import guard records in bulk from a CSV file. Whether you are onboarding a new company or migrating from another security platform, this tool handles validation, cleaning, and mapping so your data arrives clean and complete.
Navigating to Data Migration
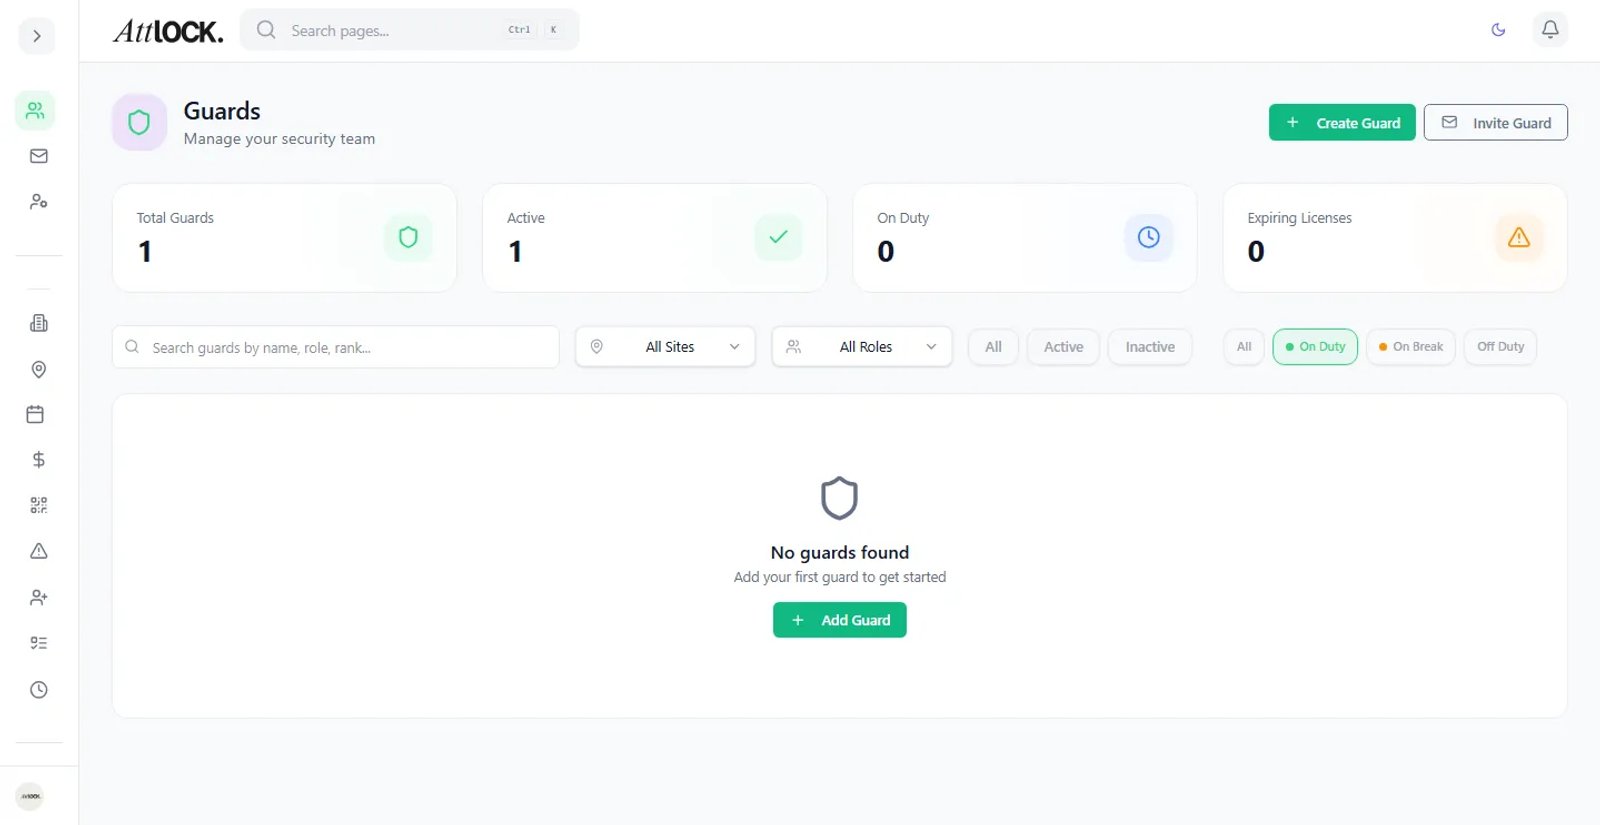
Go to Admin > Data Migration in the sidebar. The wizard opens with a step-by-step flow that guides you through the entire import process.
Step 1: Choose a Template or Platform Preset
Before uploading, you need a properly formatted CSV. You have two options:
Template Generator
Click Download Template to get a blank CSV with all supported columns and sample data in the first row. This is the fastest way to start if you are building your file from scratch.
Platform Presets
If you are migrating from another security management platform, select a preset from the dropdown:
- TrackTik
- Silvertrac
- GuardsPro
- Belfry
- Generic CSV
Presets automatically map column names from the source platform to Attlock fields, so you can upload an export from your previous system without manual reformatting.
Tip: Even with a preset, review the column mapping in Step 3 to confirm all fields are matched correctly.
Step 2: Upload Your CSV
Drag and drop your file or click Browse to select it. The wizard accepts `.csv` and `.xlsx` files up to 10 MB.
Required Fields
Every row must include:
| Field | Description | ------- | ------------- | First Name | Guard's first name | Last Name | Guard's last name | Unique email address (used for account creation) | Phone | Mobile phone number with country code | Role | Guard role type (e.g., Static Guard, Patrol Guard, Supervisor) |
|---|
Optional Fields
You can also include:
- Badge Number: company-issued ID.
- Hire Date: employment start date (YYYY-MM-DD format).
- Employment Type: Full-time, Part-time, Casual, Contract, etc.
- Skills: comma-separated list (Armed, K9, First Aid, etc.).
- Languages: comma-separated list.
- Certifications: license type, number, and expiry date.
- Address: street, city, state, zip, country.
- Emergency Contact: name, phone, relationship.
Step 3: Validation and Error Handling
After upload, the wizard validates every row and highlights issues:
- Red rows: critical errors that block import (missing required fields, invalid email format).
- Yellow rows: warnings that allow import but may need attention (duplicate phone numbers, unusual date formats).
- Green rows: valid and ready to import.
Click any flagged row to see the specific error and suggested fix. You can edit values directly in the preview table or fix the source file and re-upload.
Important: Duplicate emails are rejected. If a guard with the same email already exists in your company, that row is skipped and flagged.
Step 4: Cleaning Engine
The built-in cleaning engine normalizes your data automatically:
- Phone numbers: formatted to E.164 international standard.
- Names: trimmed of extra whitespace, capitalized consistently.
- Dates: converted to ISO 8601 format regardless of input format.
- Roles: fuzzy-matched to valid Attlock role types (e.g., "patrol" becomes "Patrol Guard").
- Skills and Languages: matched against the platform's known values.
Review the cleaned preview before proceeding. Toggle Show Changes to see exactly what the engine modified.
Step 5: Review and Confirm
The final screen shows a summary:
- Total records to import.
- Records skipped due to errors.
- Records with warnings.
- New guard accounts that will be created.
Click Start Import to begin. The process runs in the background — you can navigate away and return to check progress.
Tip: For large imports (500+ records), run the import during off-peak hours to avoid notification overload for new guard accounts.
After Import
Once complete, each imported guard receives an invitation email to set up their Attlock account. You can view all imported records under Team > Guards and filter by Import Date to review the batch.
Failed rows are available for download as a separate CSV so you can fix and re-import them.
Tips
- Always do a test import with 5-10 records before importing your full roster.
- Keep a backup of your original CSV before running the cleaning engine.
- Use the Generic CSV preset if your source platform is not listed.
Related Articles
- Managing Guards
- Invitations & Onboarding
- Settings & Configuration