


Zones, Regions & Area Management
If you manage sites across multiple areas, zones and regions help you organize, filter, and report on them geographically.
Accessing Zones & Regions
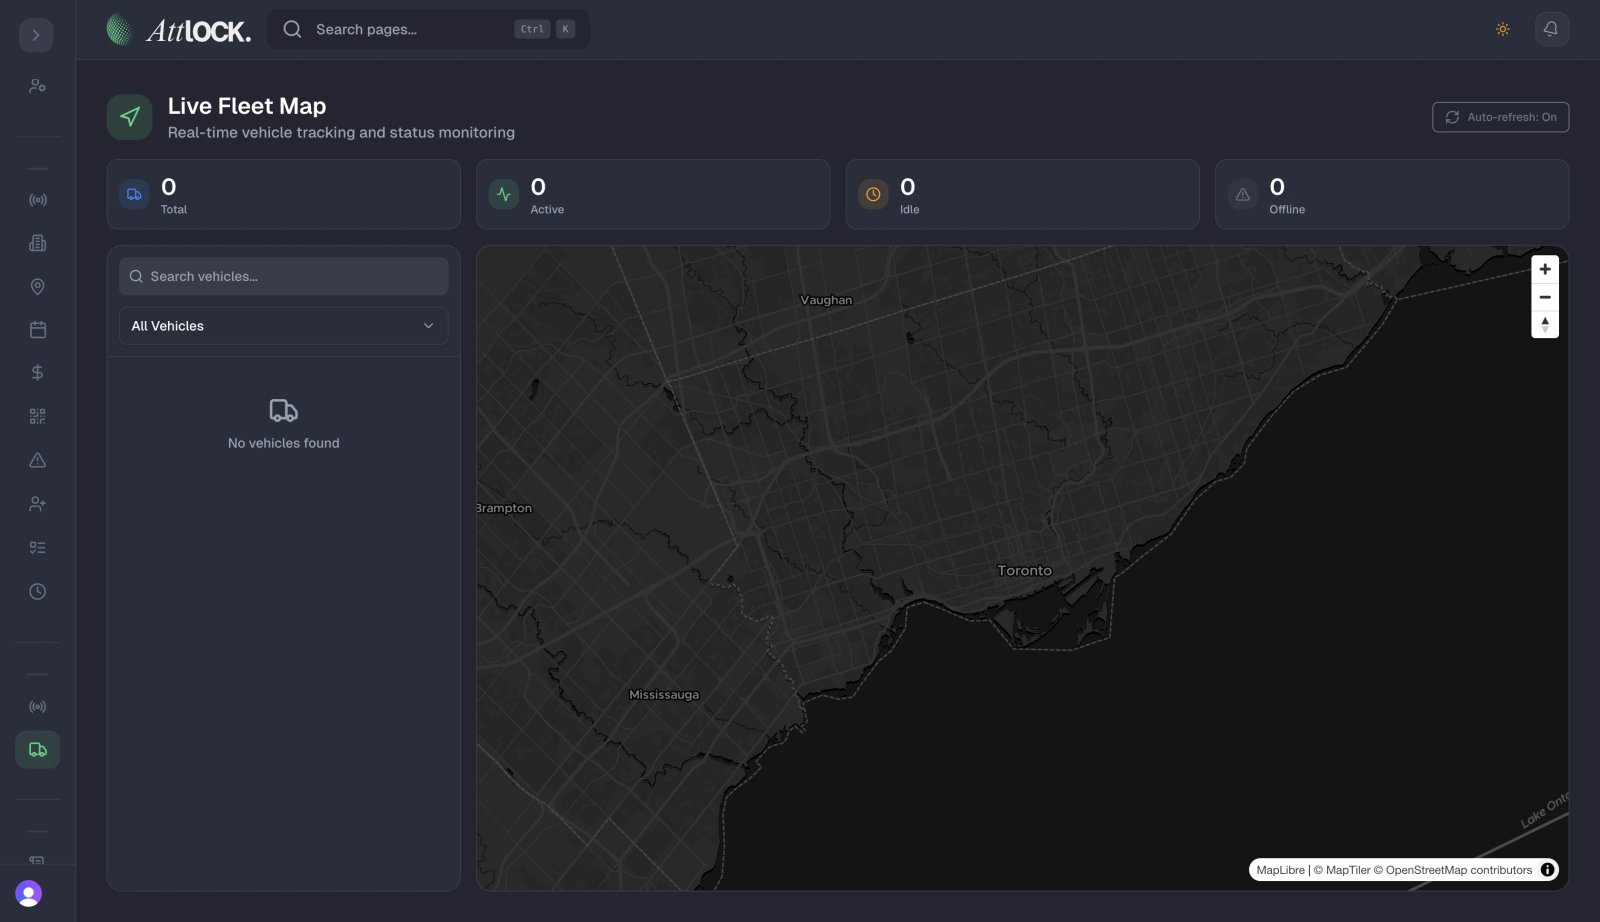
Navigate to Operations → Zones & Regions in the sidebar.
Creating a Region
- Click Create Region.
- Enter:
- Region Name (e.g., "Downtown Core", "North District", "West Campus")
- Description (optional)
- Assign Sites — select which sites belong to this region.
- Save.
Hierarchical Structure
You can create a hierarchy:
- Region → the top-level geographic grouping.
- Zone → a sub-area within a region.
- Sites → individual locations within zones.
Example: ``` North District (Region) ├── Industrial Zone │ ├── Warehouse A │ └── Distribution Center └── Commercial Zone ├── Office Park └── Retail Center ```
Using Regions for Filtering
Once set up, regions appear as filter options throughout the dashboard:
- Scheduling — filter shifts by region.
- Reports — generate reports scoped to a region.
- Analytics — compare performance across regions.
- Guard assignments — see which guards cover which regions.
Managing Regions
- Edit — update the name, description, or site assignments.
- Delete — remove a region (sites are not deleted, just unlinked).
- Reassign sites — move a site from one region to another.
Tips
- Name regions clearly — use geographic names everyone understands.
- Group sites by operational similarity — sites in the same region should share scheduling and patrol patterns.
- Use regions in reports to compare district performance.
- Assign regional supervisors who oversee all sites within their region.
Related Articles
- Managing Sites
- Scheduling Shifts
- Reports & Analytics
- Managing Guards