


Viewing Site Photos & Report Gallery
The Attlock site gallery collects all photos taken by guards during patrols, incident reports, and inspections into one browsable location. Use the gallery to verify site conditions, review incident evidence, and maintain a visual record of security activities at your locations.
Accessing the Site Gallery
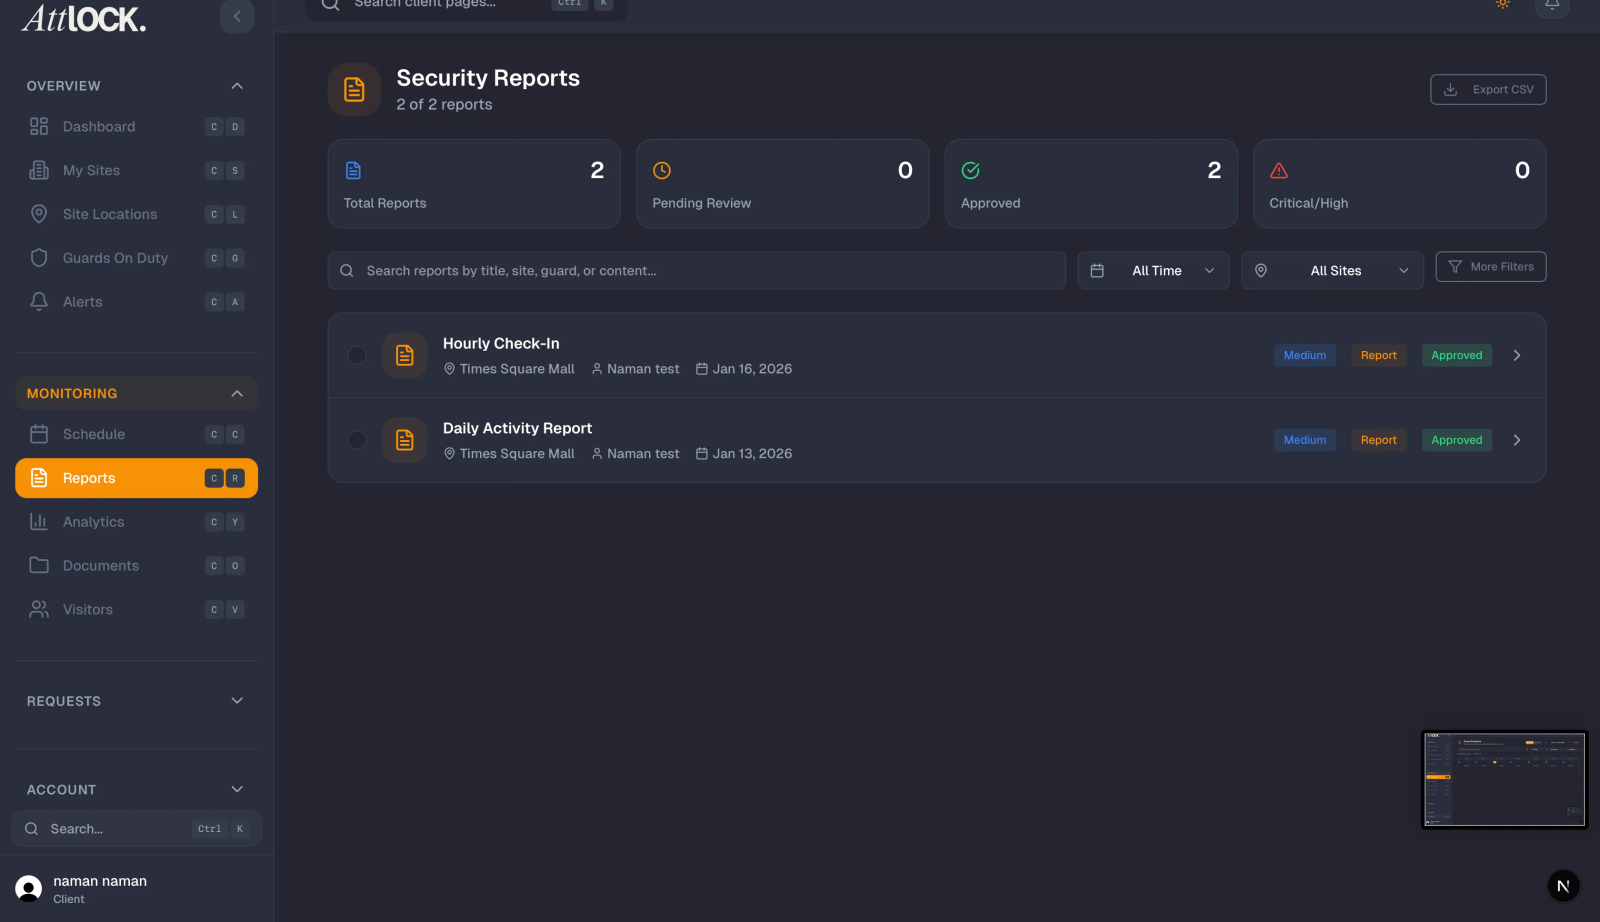
- Open the Attlock Client app or log in to the web portal.
- Navigate to Sites and select the site you want to view.
- On the site detail page, tap the Gallery tab.
The gallery displays all photos associated with that site, sorted by most recent first.
Understanding Photo Sources
Photos in the gallery come from several types of guard activity:
| Source | Description | -------- | ------------- | Incident Reports | Photos attached to incident submissions such as property damage, unauthorized access, or safety hazards | Patrol Checkpoints | Photos taken at checkpoint scans during guard patrol tours | Inspections | Photos captured during scheduled site inspections and compliance checks | General Reports | Photos attached to daily activity reports and shift summaries |
|---|
Each photo is tagged with its source type so you can quickly identify where it came from.
Browsing by Date
To find photos from a specific time period:
- In the gallery view, tap the Date Filter at the top of the screen.
- Select a start date and end date to define your range.
- Tap Apply to filter the gallery.
You can also tap Today, This Week, or This Month for quick date selections. The gallery updates immediately to show only photos within your selected range.
Viewing Photo Details
Tap any photo to open it in full-screen view. The detail panel shows:
- Date and time the photo was taken.
- Guard name — the guard who captured the image.
- Report type — whether it came from an incident, patrol, inspection, or general report.
- Report link — tap to open the full report associated with the photo.
- Location — the checkpoint or area within the site where the photo was taken, if available.
- Caption or notes — any description the guard added when uploading the photo.
Swipe left or right to navigate between photos without returning to the gallery grid.
Using Photos for Accountability
The site gallery is a valuable tool for maintaining oversight of your security services:
- Verify patrol completion — Check that guards are visiting all required checkpoints by reviewing patrol photos with timestamps.
- Document incidents — Access photographic evidence from incident reports for insurance claims, investigations, or internal reviews.
- Track site conditions — Compare photos over time to identify recurring issues such as lighting failures, access point damage, or housekeeping concerns.
- Share with stakeholders — Download individual photos or share the gallery link with colleagues who need to review site conditions.
Downloading Photos
To save a photo to your device:
- Open the photo in full-screen view.
- Tap the Download icon in the top-right corner.
- The image will be saved to your device's photo library or downloads folder.
To download multiple photos at once, use the Select mode from the gallery grid. Tap each photo you want, then tap Download Selected.
Filtering by Report Type
If you are looking for a specific kind of photo, use the Type filter:
- Tap the Filter icon in the gallery toolbar.
- Select one or more report types: Incidents, Patrols, Inspections, or General.
- Tap Apply to narrow the gallery.
Combine the type filter with a date range to locate specific photos quickly.
Tips
- Check patrol photos weekly to confirm guards are completing their rounds as scheduled.
- Use incident photos as supporting evidence when filing insurance claims or compliance reports.
- Set up site access for your team so relevant managers can review gallery photos for their assigned locations.
Related Articles
- Viewing Site Reports
- Getting Started with the Client Portal
- Managing Your Client Team
- Viewing Live Guard Positions