


Managing Vacation & Time-Off Requests
Attlock provides a centralized system for guards to submit time-off requests and for admins to review, approve, or deny them. The system tracks leave balances, flags scheduling conflicts, and supports bulk processing for efficient workforce management.
Reviewing Pending Requests
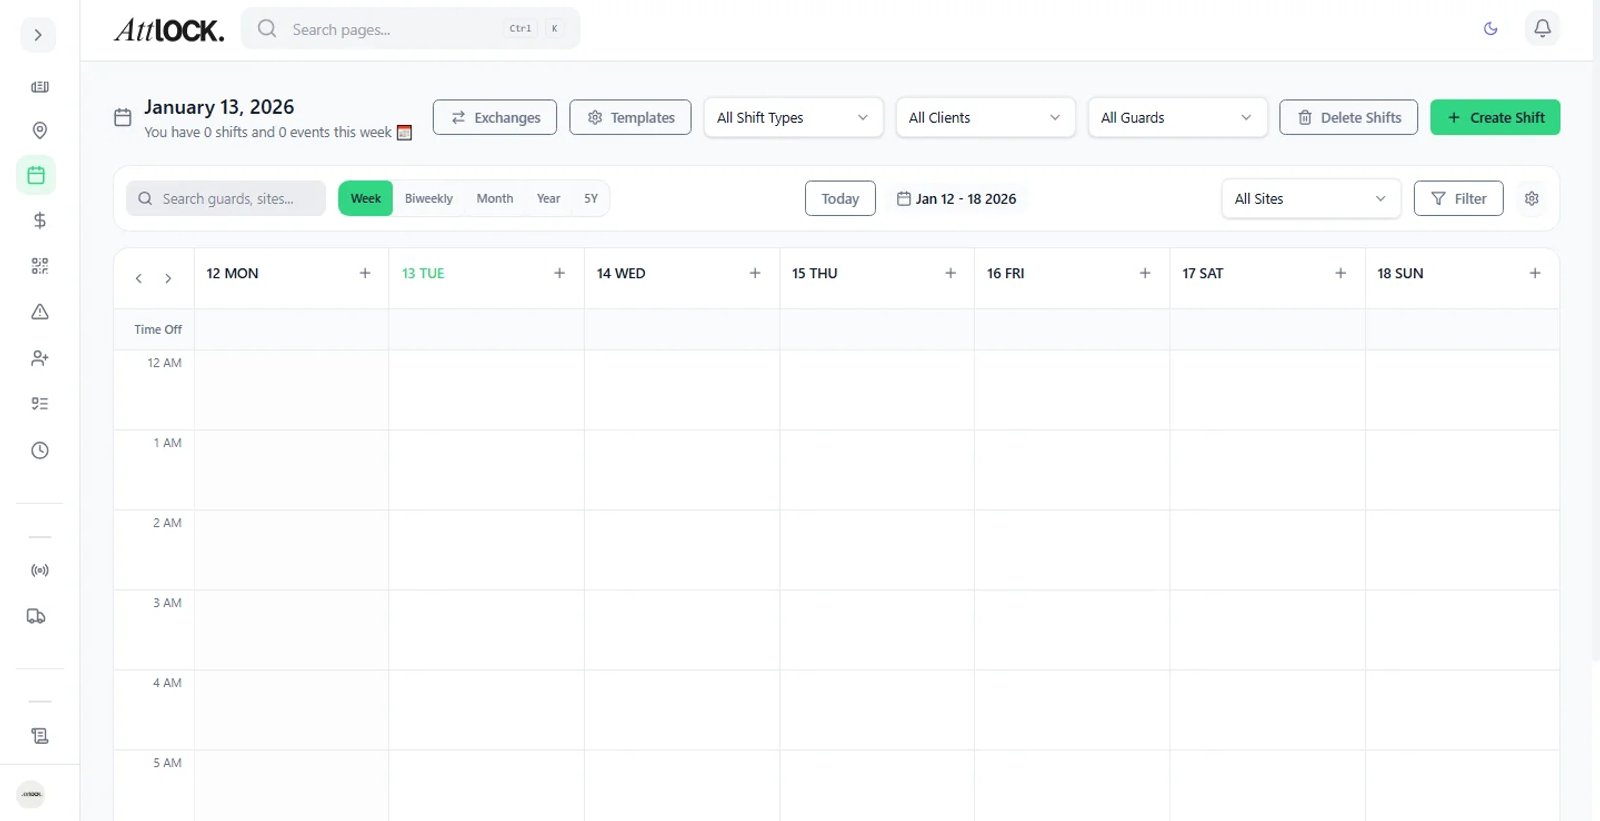
All time-off requests land in a single admin queue for review.
- Navigate to Operations > Scheduling > Vacation Requests (also accessible via Team > Vacation Requests).
- The Pending tab shows all requests awaiting review, sorted by submission date.
- Each request card displays:
- Guard name and current role/site assignment.
- Requested dates — start and end date of the absence.
- Leave type — Vacation, Sick Leave, Personal Day, Bereavement, or Other.
- Reason — the guard's submitted explanation.
- Leave balance — remaining days available for this leave type.
- Conflict indicator — a warning icon if the guard is scheduled during the requested dates.
Click any request to expand the full detail view, including the guard's upcoming schedule and historical leave usage.
Approving or Denying Requests
To process a request:
- Open the request from the Pending queue.
- Review the details, pay attention to:
- Whether the guard has sufficient leave balance.
- Whether the dates conflict with existing shift assignments.
- Whether coverage is available for the affected shifts.
- Click Approve or Deny.
- If denying, enter a reason in the text field. This reason is visible to the guard.
- Click Confirm.
Approved requests immediately:
- Deduct the appropriate days from the guard's leave balance.
- Block the guard from being scheduled on the approved dates.
- Notify the guard via push notification and email.
Denied requests notify the guard with the reason provided.
Tip: When denying a request, suggest alternative dates if possible. This helps guards plan around busy periods and reduces resubmissions.
Impact on Scheduling
Approved time-off directly affects your scheduling workflow:
Coverage Gap Alerts
- When a request is approved, the system checks if the guard was assigned to any shifts during the leave period.
- If shifts are affected, a Coverage Gap alert appears on the scheduling dashboard.
- The alert lists each affected shift and provides a Find Replacement button to quickly assign another available guard.
Schedule View Integration
- Approved leave appears as a blocked-out period on the schedule calendar.
- The guard's name shows with a "Time Off" label on affected dates.
- When creating new shifts, guards on approved leave are excluded from the available guard list for those dates.
Forecasting
- The staffing forecaster factors in approved leave when projecting coverage needs.
- Check Scheduling > Forecasting to see how upcoming leave affects your staffing levels.
Leave Balance Tracking
Attlock tracks leave balances by type for each guard.
Viewing Balances
- Individual: Go to Team > Guards > [Guard Name] > Leave to see a specific guard's balances.
- Company-wide: Go to Team > Leave Balances for an overview of all guards' remaining leave.
Balance Details
For each leave type, you can see:
- Annual allocation — total days granted per year.
- Used — days taken so far.
- Pending — days in pending (unapproved) requests.
- Remaining — available days.
Adjusting Balances
Admins can manually adjust balances when needed:
- Go to Team > Guards > [Guard Name] > Leave.
- Click Adjust Balance next to the leave type.
- Enter the adjustment (positive to add, negative to deduct).
- Add a note explaining the adjustment (e.g., "Carryover from previous year").
- Click Save.
Important: Manual adjustments are logged in the guard's leave history for audit purposes. Always include a descriptive note.
Bulk Approval Workflow
For periods with many requests (e.g., holiday season planning), use bulk processing:
- Go to Scheduling > Vacation Requests > Pending.
- Use the checkbox on each request to select multiple entries, or click Select All to select every pending request on the page.
- Apply filters to narrow down requests:
- By date range
- By leave type
- By site or team
- Click Bulk Approve or Bulk Deny in the action bar.
- If denying in bulk, enter a shared reason (e.g., "All leave blocked during December holiday coverage period").
- Review the confirmation summary showing how many requests will be processed.
- Click Confirm.
All affected guards are notified individually. The action is recorded in the audit log.
Best Practices
- Set response time expectations — aim to process requests within 48 hours so guards can plan.
- Review weekly — check the pending queue at least once per week to prevent backlogs.
- Plan for peak periods — use the leave balance overview to anticipate high-demand periods and set blackout dates if necessary.
- Communicate blackout periods early — if certain dates are restricted, announce this to guards before requests start coming in.
- Use bulk processing strategically — batch-approve routine requests and individually review those with conflicts.
Related Articles
- Scheduling Shifts
- Using Shift Schedule Templates
- Configuring Auto-Approval Rules