


Submitting Service Requests
Service requests are the primary way to communicate needs, issues, or requested changes to your security provider. Whether you need additional coverage, want to report a concern, or have a question about your service, service requests keep everything documented and trackable.
Accessing Service Requests
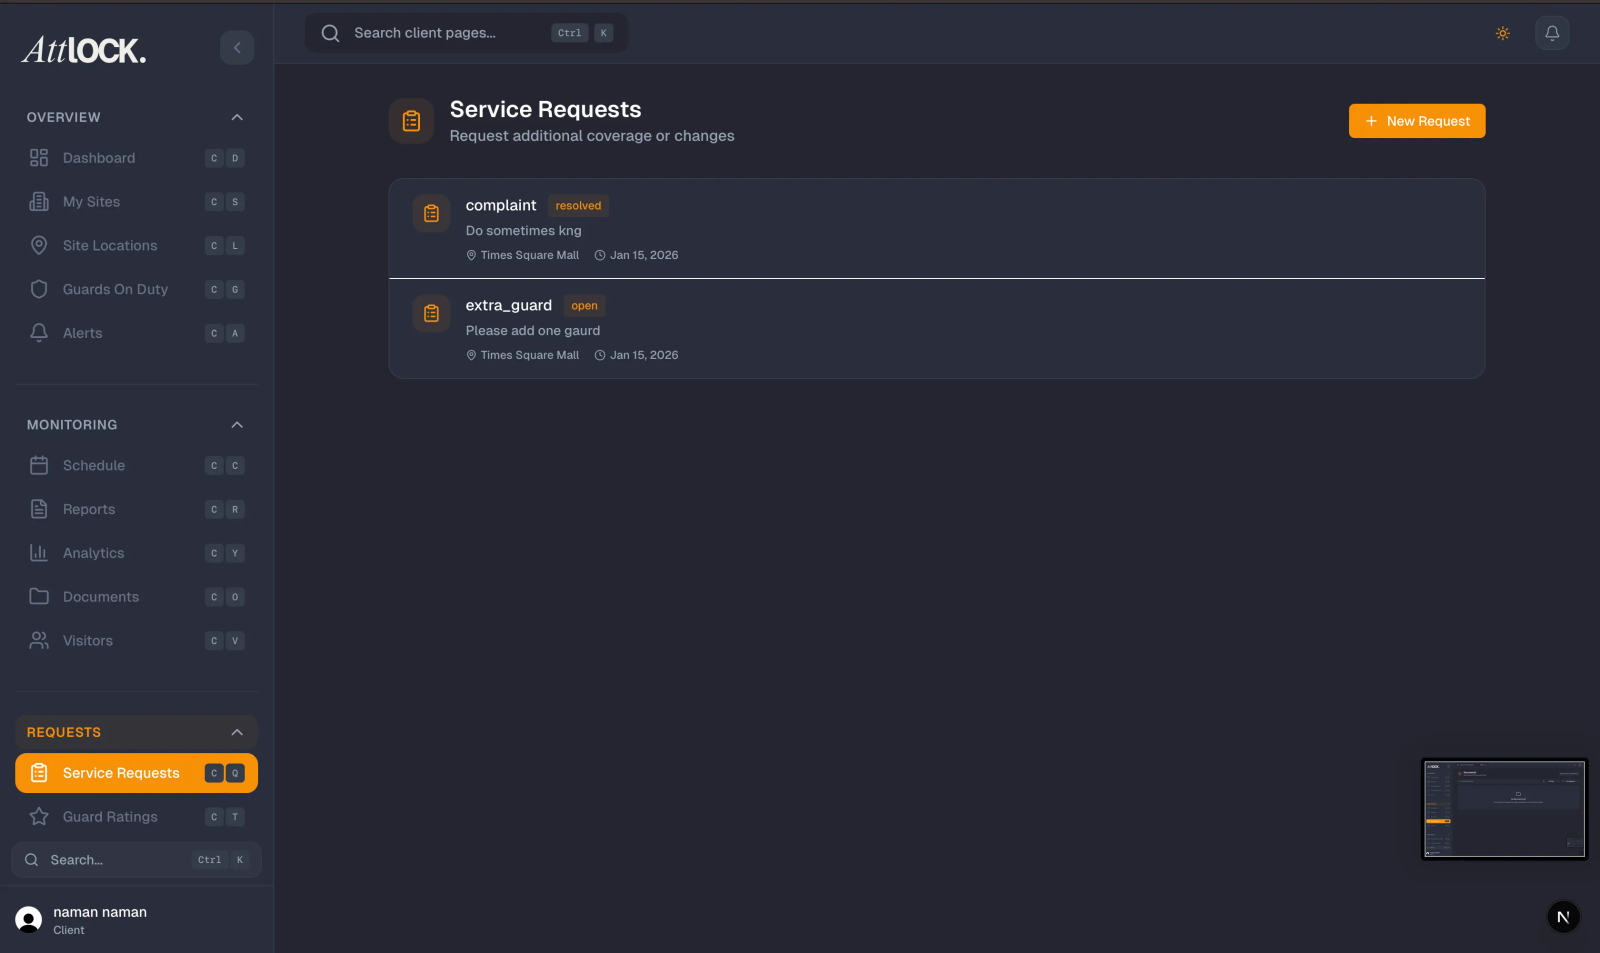
- From the Profile menu, tap "Service Requests".
- The service requests screen loads showing all your current and past requests.
Viewing Your Requests
Each request in the list displays:
- Subject — The brief title you gave the request, plus a snippet of the description.
- Site Name — Which site the request relates to.
- Status Badge — The current state of the request (see status descriptions below).
- Priority Badge — How urgent the request is.
- Date Submitted — When you originally created the request.
Status Badges
| Status | Color | Meaning | -------- | ------- | --------- | Open | Blue | Submitted and awaiting your provider's response | In Progress | Orange | Your provider is actively working on it | Resolved | Green | Your provider has completed the request | Closed | Gray | Confirmed resolved and archived | Cancelled | Red | Request was cancelled |
|---|
Priority Badges
| Priority | Color | When to Use | ---------- | ------- | ------------- | Urgent | Red | Time-sensitive safety or security issues | High | Orange | Important issues that need prompt attention | Normal | Blue | Standard requests with no immediate urgency | Low | Gray | Minor requests or general inquiries |
|---|
Creating a Service Request
- Tap the create/add button (usually a "+" icon).
- Fill in the request form:
- Subject — A brief, descriptive title (e.g., "Request additional guard for Friday event").
- Description — A detailed explanation of what you need, including relevant context, dates, and any special requirements.
- Site — Select which site this request relates to.
- Priority — Choose the appropriate urgency level.
- Review your details and tap Submit.
Your request will appear in the list with an Open status.
Tracking Request Status
Requests progress through a clear lifecycle:
- Open — Your request has been submitted and is waiting for your provider to review it.
- In Progress — Your provider has acknowledged the request and is working on it.
- Resolved — Your provider has completed the requested action.
- Closed — The request is confirmed resolved and archived for your records.
You can check back at any time to see the current status of your requests.
Tips
- Be specific in the description — Include details like dates, times, locations within the site, and the names of people involved. The more context you provide, the faster your provider can respond.
- Choose the right priority — Reserve "Urgent" for genuine time-sensitive security issues. Overusing urgent priority can slow response to truly critical requests.
- Check status regularly — Your provider may need clarification or additional information. Checking back ensures you see any updates promptly.
- Use service requests instead of calls for non-urgent matters — This creates a documented trail that both you and your provider can reference.
- Reference previous requests — If a new request relates to an earlier one, mention it in the description for context.
Related Articles
- Getting Started with the Client Portal
- Contacting Your Security Provider
- Viewing Site Reports
- Viewing Alerts and Notifications
- Help & Support