


Pre-Registering Visitors
Pre-register expected visitors so guards can check them in quickly when they arrive. Pre-registration speeds up the entry process, improves site security, and gives you a clear record of who is visiting your property.
Accessing Visitors
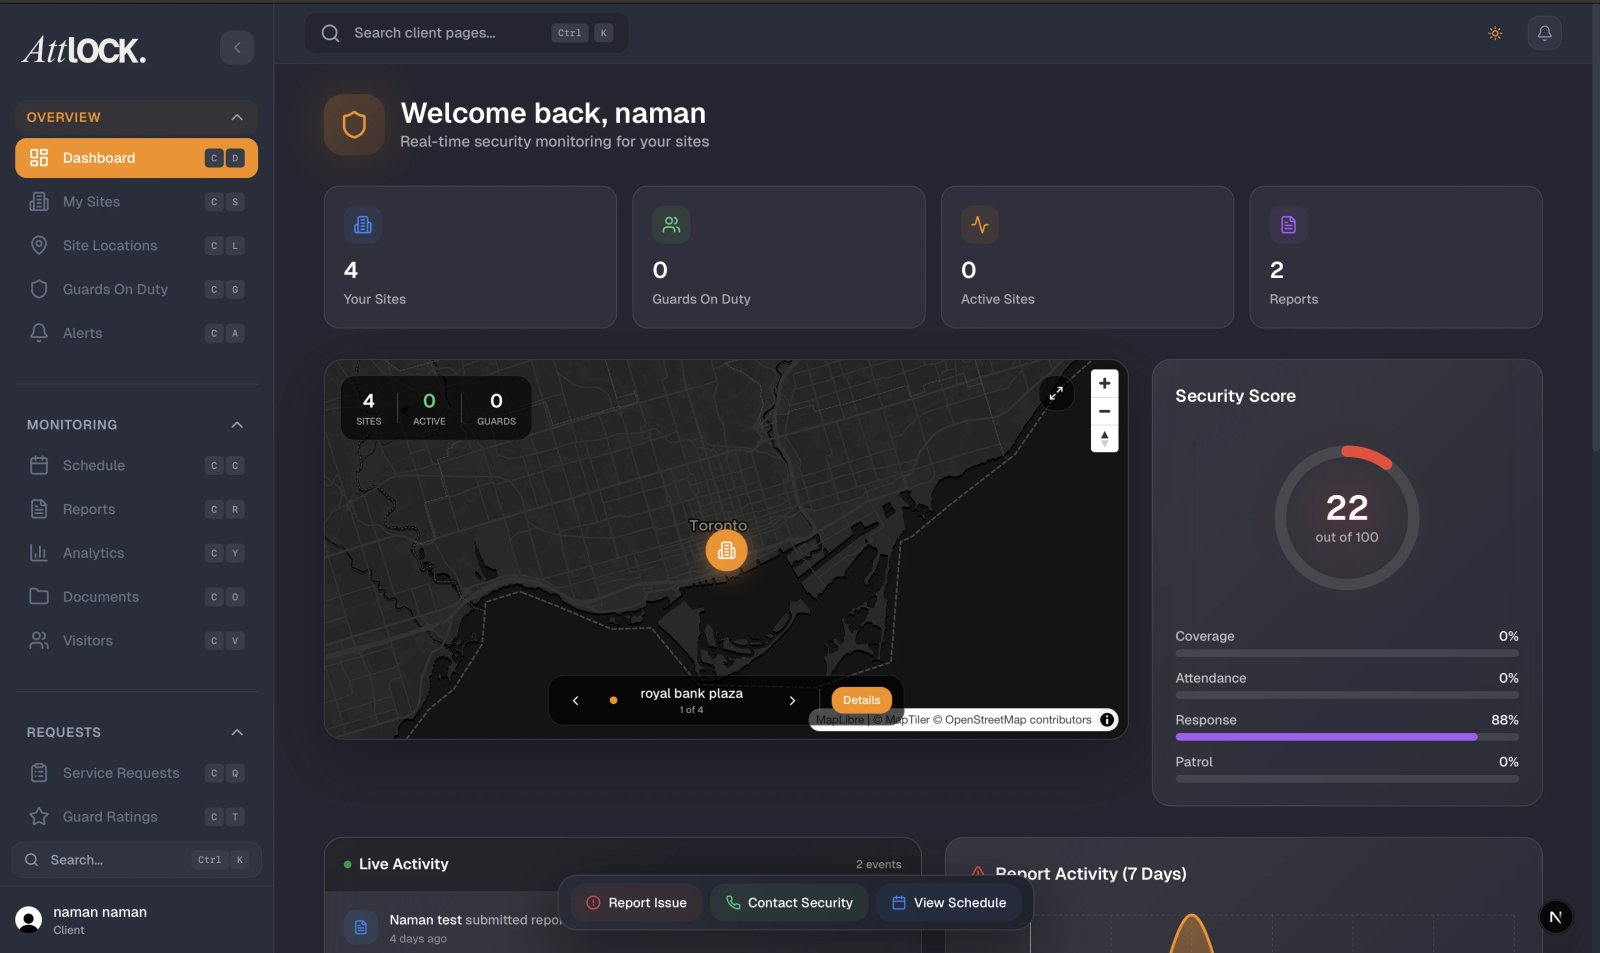
- Tap Profile > My Visitors, or find Visitors in the More menu.
- The visitor management screen loads showing all registered visitors.
Visitor Tabs
Visitors are organized into tabs for easy filtering:
- All Visitors — A complete list of everyone registered, regardless of status.
- Pending — Visitors who are registered but have not yet arrived.
- Approved — Visitors who have been cleared for entry by a guard.
- Checked In — Visitors who are currently on-site.
- Contractors — Contractor access records with dates and active/expired status.
Pre-Registering a New Visitor
Follow these steps to register an expected visitor:
- Tap the "+" button at the top of the screen.
- Choose "Pre-register Visitor" from the options.
- Fill in the registration form:
- Site — Select which site the visitor will be attending.
- First Name (required) — The visitor's first name.
- Last Name (required) — The visitor's last name.
- Email (optional) — The visitor's email address for notifications.
- Company/Organization — The visitor's company or affiliation.
- Purpose of Visit (required) — A brief description of why they are visiting (e.g., "Meeting with operations team").
- Date — The expected visit date.
- Time — The expected arrival time.
- Notes for Guards — Any special instructions the guard should know.
- Tap "Create Registration" to submit.
The visitor will appear in the Pending tab until they arrive.
QR Code Check-In
Visitors with a QR code can be checked in quickly:
- Tap the QR icon button on the visitor screen.
- Select the site where the visitor is arriving.
- Enter the QR code (format: "VIS-1234567890-abc123").
- Tap "Check In Visitor" to confirm.
The visitor's status will update to Checked In automatically.
Understanding Visitor Status Badges
| Status | Color | Meaning | -------- | ------- | --------- | Pending | Yellow | Registered and awaiting arrival | Approved | Blue | Cleared by a guard for entry | Checked In | Green | Currently on-site | Completed | Gray | Visit has finished | Cancelled | Red | Visit was cancelled before arrival | No Show | Orange | Visitor did not arrive as expected |
|---|
Cancelling a Visit
- Find the visitor in the Pending or Approved tab.
- Tap on the visitor to view details.
- Tap "Cancel Visit".
- Confirm the cancellation when prompted.
Cancelled visits remain in the log for record-keeping.
Contractors Tab
The Contractors tab provides a dedicated view for contractor access:
- Contractor Name and Company — Who the contractor is and who they work for.
- Access Dates — The date range they are authorized to enter.
- Status — Active (currently authorized) or Expired (access period has ended).
Tips
- Pre-register visitors the day before — Guards will be prepared, and check-in will be seamless.
- Include detailed notes for guards — Instructions like "needs parking pass," "meeting in room 302," or "will have equipment to unload" help guards provide better service.
- Cancel no-shows promptly — This keeps your visitor log accurate and helps with site security audits.
- Use QR codes for recurring visitors — It is the fastest check-in method for frequent guests.
- Check the Contractors tab regularly — Ensure contractor access dates are current and expired entries are noted.
Related Articles
- Getting Started with the Client Portal
- Viewing Your Sites
- Submitting Service Requests
- Viewing Site Reports
- Viewing Alerts and Notifications