


Patrols & Checkpoints
The Patrol Manager lets you design patrol routes, assign checkpoints, generate QR/NFC scan codes, and monitor guard patrol progress in real time.
Accessing Patrols
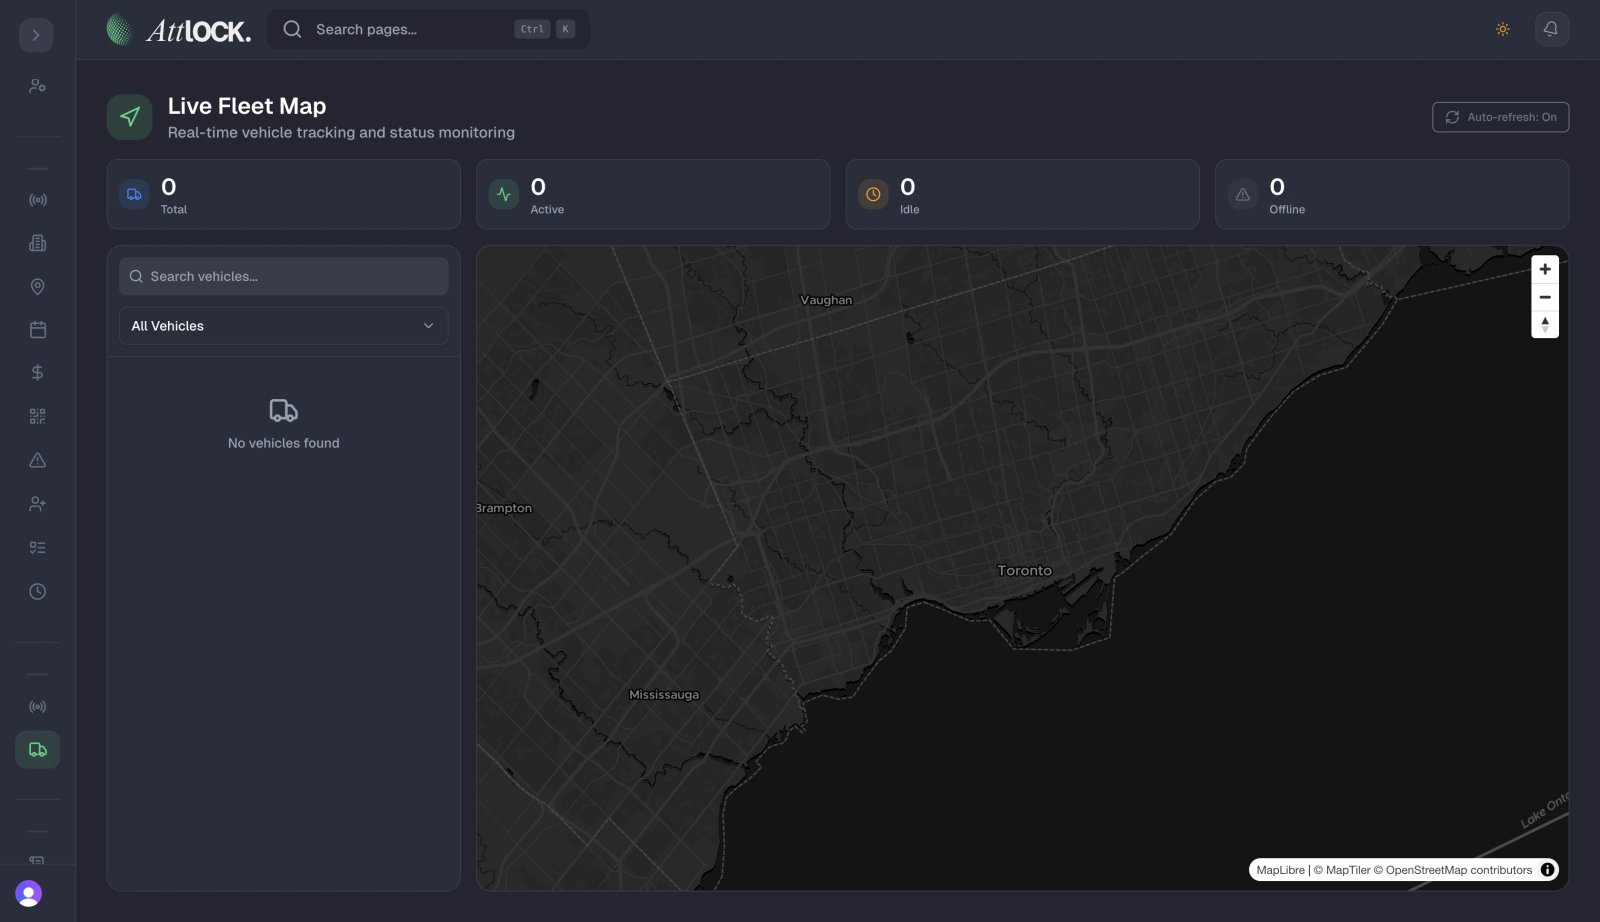
Navigate to Operations → Patrol Manager in the sidebar. You'll see two sub-pages:
- Patrols & Checkpoints — route and checkpoint management
- NFC Tag Management — NFC tag assignments
Dashboard KPIs
At the top of the Patrols page you'll see stat cards:
- Total Patrols — all patrol routes created.
- Active Tours — patrols currently in progress.
- Scan Methods — breakdown of QR Code, NFC, and Manual scans.
Creating a Patrol Route
- Click Create Patrol.
- Enter a name for the patrol (e.g., "Building A Perimeter").
- Select the site.
- Add checkpoints in the order guards should visit them:
- Checkpoint name (e.g., "Main Entrance")
- Location description
- GPS coordinates (optional)
- Mandatory or optional
- Timing requirements (e.g., must scan within 15 minutes)
- Save the patrol.
Checkpoint Scanning Methods
Guards can scan checkpoints using three methods:
| Method | How It Works | -------- | -------------- | QR Code | Guard opens the scanner and points the camera at a printed QR code | NFC | Guard taps their phone on an NFC tag mounted at the checkpoint | Manual | Guard enters the checkpoint code manually (fallback option) |
|---|
Generating QR Codes
- Open a patrol route.
- Click the QR Code icon next to a checkpoint.
- Print or download the QR code.
- Mount it at the physical location.
Managing NFC Tags
- Go to Patrol Manager → NFC Tag Management.
- Assign an NFC tag ID to a checkpoint.
- View scan history per tag.
- Enable or disable tags.
Tabs on the Patrols Page
Patrols Tab
The main list of all patrol routes with checkpoint counts, assigned sites, and QR code generation.
Sessions Tab
Every time a guard starts a patrol tour, it creates a session. This tab shows:
- Session status: Completed (green), In Progress (blue), Paused (amber), Abandoned (red)
- Timeliness: On time, Late, Missed, First scan
- Per-checkpoint detail drawer — click a session to see scan times for each checkpoint.
- Guard name, tour duration, start/end times.
Live Feed Tab
Real-time patrol activity — see which guards are currently on patrol, their last scanned checkpoint, and progress.
Tour List Tab
All tours with status tracking and filtering.
Analytics Tab
- Patrol completion rates over time.
- Checkpoint adherence charts.
- Guard performance comparisons.
- Scan method distribution (pie chart).
Monitoring Live Patrols
- Open the Live Feed or Sessions tab.
- Active tours show a blue "In Progress" badge.
- Click a tour to see the guard's checkpoint progress on a map.
- Green checkpoints = scanned, gray = not yet visited.
Tips
- Make key checkpoints mandatory — guards must scan them to complete the tour.
- Set timing requirements so you can detect late or missed scans.
- Use NFC for high-security areas — it's harder to spoof than QR codes.
- Review Analytics weekly to spot guards who routinely miss checkpoints.
Related Articles
- Run Sheets
- Managing Sites
- Guard Activity Stream
- Reports & Analytics