


Managing Sites
Sites are the physical locations where your guards provide security services. Each site can have its own geofence, assigned guards, equipment, checklists, and operating rules.
Accessing Sites
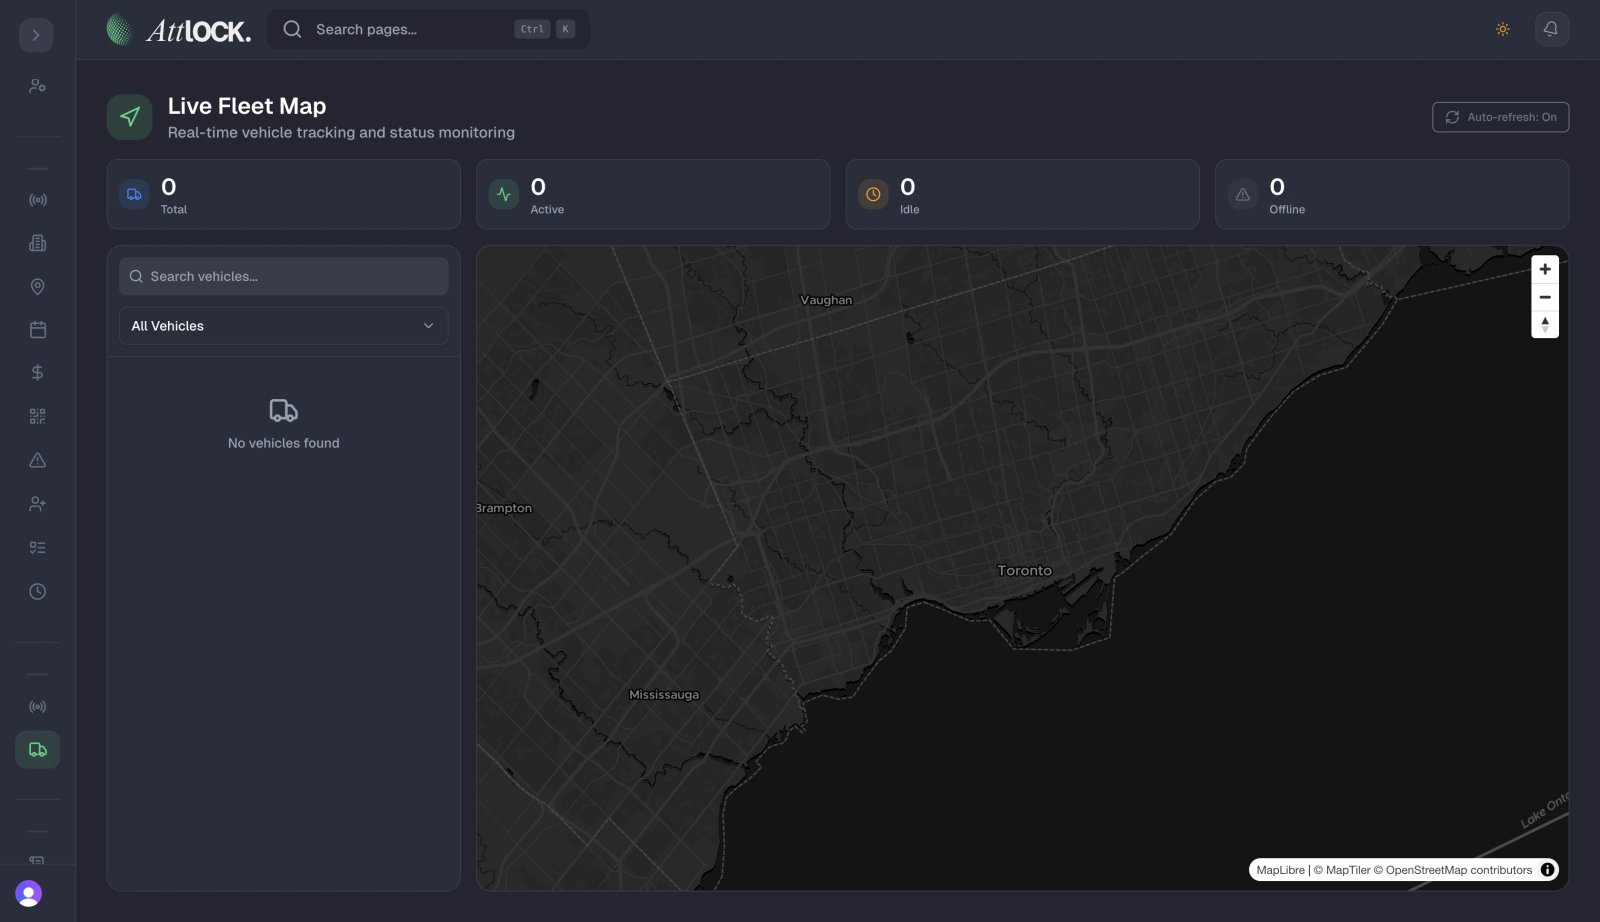
Navigate to Operations → Sites in the sidebar.
Site List
- Search by site name or address.
- Filter by status (Active, Inactive).
- Each row shows the site name, address, assigned guard count, and status.
Creating a Site
- Click Add Site.
- Fill in:
- Site Name (required)
- Address — street, city, state, zip, country (geocoded for map display)
- GPS Coordinates — latitude and longitude (auto-filled from address or set manually)
- Operating Hours — when guards should be on-site
- Notes — special instructions, entry procedures, etc.
- Save.
Geofence Configuration
A geofence is a virtual boundary around a site. Guards are tracked against this boundary for clock-in validation and breach detection.
- Open a site's details.
- Go to the Geofence section.
- Set the radius (in meters) around the site center.
- View the geofence on the map.
- Guards who clock in outside the geofence will be flagged.
- Guards who leave the geofence during a shift trigger a breach alert.
Assigning Guards
- Open a site.
- Go to the Guards tab.
- Click Assign Guard.
- Select guards from the roster.
- Guards will see this site in their schedule and can clock in here.
Site-Specific Features
Each site can have:
- Checkpoints — patrol scan locations specific to this site.
- Checklists — opening/closing procedures.
- Post Orders — standing instructions.
- Equipment — items stored or assigned at this site.
- Pass-down Logs — shift handover notes.
- Tasks — site-specific guard tasks.
Zones & Regions
Group sites geographically:
- Go to Operations → Zones & Regions.
- Create regions (e.g., "Downtown", "North District").
- Assign sites to regions.
- Use regions for filtering and reporting.
Tips
- Set accurate geofences — too small triggers false breach alerts; too large undermines accountability.
- Add operating hours so the system knows when coverage is expected.
- Use regions if you manage sites across multiple areas to simplify filtering.
- Keep site notes updated with entry procedures, parking info, and emergency contacts.
Related Articles
- Patrols & Checkpoints
- Managing Guards
- Managing Clients
- Geofence & Live Tracking