


Logging Visitor Check-Ins
As a guard, one of your key responsibilities is controlling and documenting who enters and leaves your site. The Visitor Management feature in Attlock lets you log every visitor, track who's currently on-site, and maintain a complete history for security and compliance.
Why Visitor Logging Matters
- Security — knowing exactly who is on-site at any time is essential for emergency evacuations and incident response.
- Accountability — a visitor log creates a documented record for liability and compliance purposes.
- Access control — prevents unauthorized individuals from moving freely through the site.
Accessing the Visitor Log
- Tap the More tab at the bottom of the screen.
- Tap "Visitors" (User Plus icon, orange).
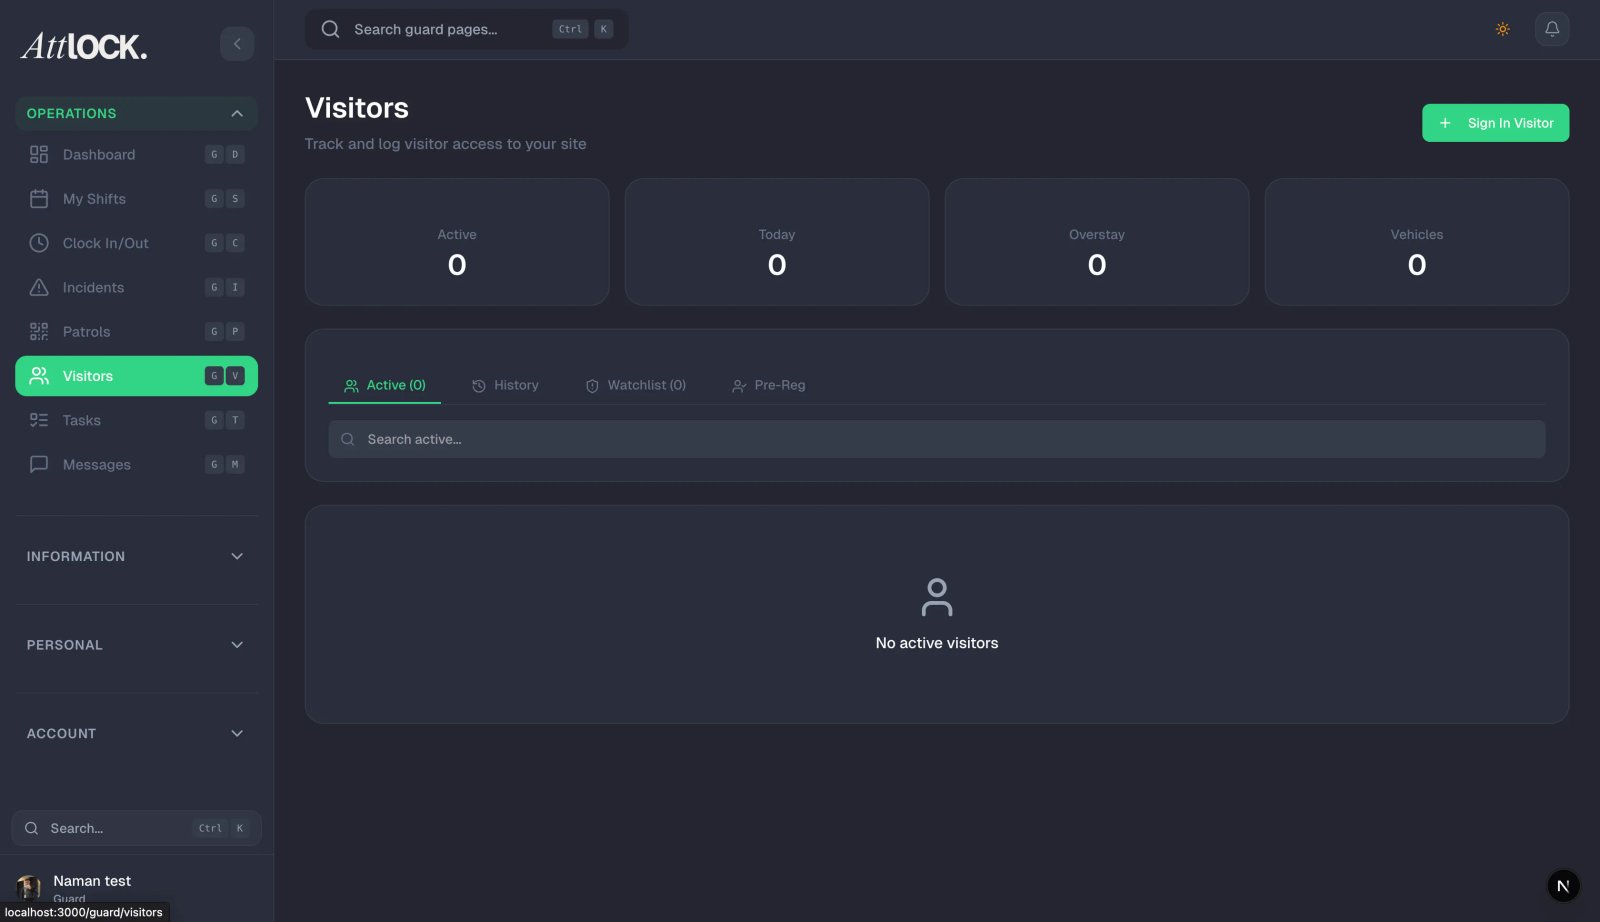
- The Visitor Management screen opens.
Understanding the Tabs
Active
Shows all visitors who are currently on-site — they've checked in but haven't checked out yet. This is your real-time headcount of visitors.
History
Shows all past visitor entries — people who have already checked in and checked out. Use this tab to look up previous visits or verify visitor activity.
Adding a New Visitor
When a visitor arrives at your site:
- Tap "+ Add Visitor" (green button).
- Fill in the visitor information:
- First Name (required) — the visitor's given name.
- Last Name (required) — the visitor's family name.
- Company (required) — the organization the visitor represents.
- Reason for Visit (required) — why they're here (e.g., "Delivery," "Meeting with John Smith," "Maintenance work").
- Host Name (required) — the person on-site they're visiting or meeting with.
- Vehicle/Plate Info (optional) — if the visitor drove, log their vehicle make, model, and license plate number.
- Badge Number (optional) — if your site issues visitor badges, record the badge number here.
- Review the information for accuracy.
- Tap "Check In Visitor."
- The visitor now appears in the Active tab.
Checking Out a Visitor
When a visitor is leaving the site:
- Open the Active tab.
- Find the visitor in the list.
- Tap "Check Out" on their entry.
- Tap "Confirm Check Out" when prompted.
- A success message appears: "Visitor checked out successfully."
- The visitor moves from the Active tab to the History tab with their check-out time recorded.
Searching for Visitors
If you have a long list of active visitors, use the search function at the top of the screen to find someone by name, company, or host.
Tips
- Always verify ID — ask for photo identification before logging a visitor. Compare the name on the ID to the name they give you.
- Log every visitor, every time — even brief visits, deliveries, or people "just dropping something off" should be recorded. No exceptions.
- Check the pre-registered list — your admin may have pre-registered expected visitors. If someone says they're expected, verify them against this list before granting access.
- Record vehicle information — this is especially important for parking lots and sites where vehicles are tracked.
- Check visitors out promptly — don't let visitors linger in the Active list after they've left. An accurate headcount is critical during emergencies.
- If a visitor refuses to provide information — contact your supervisor for guidance. Do not grant access without proper documentation.
- Report suspicious visitors — if someone seems evasive about their identity or purpose, file an incident report after logging them.
Related Articles
- Getting Started with the Guard Mobile App
- Logging Parking Entries and Violations
- Submitting an Incident Report
- Completing a Patrol Tour