


Invitations & Onboarding
Bring new team members onto the platform by sending invitations and guiding them through onboarding.
Sending Invitations
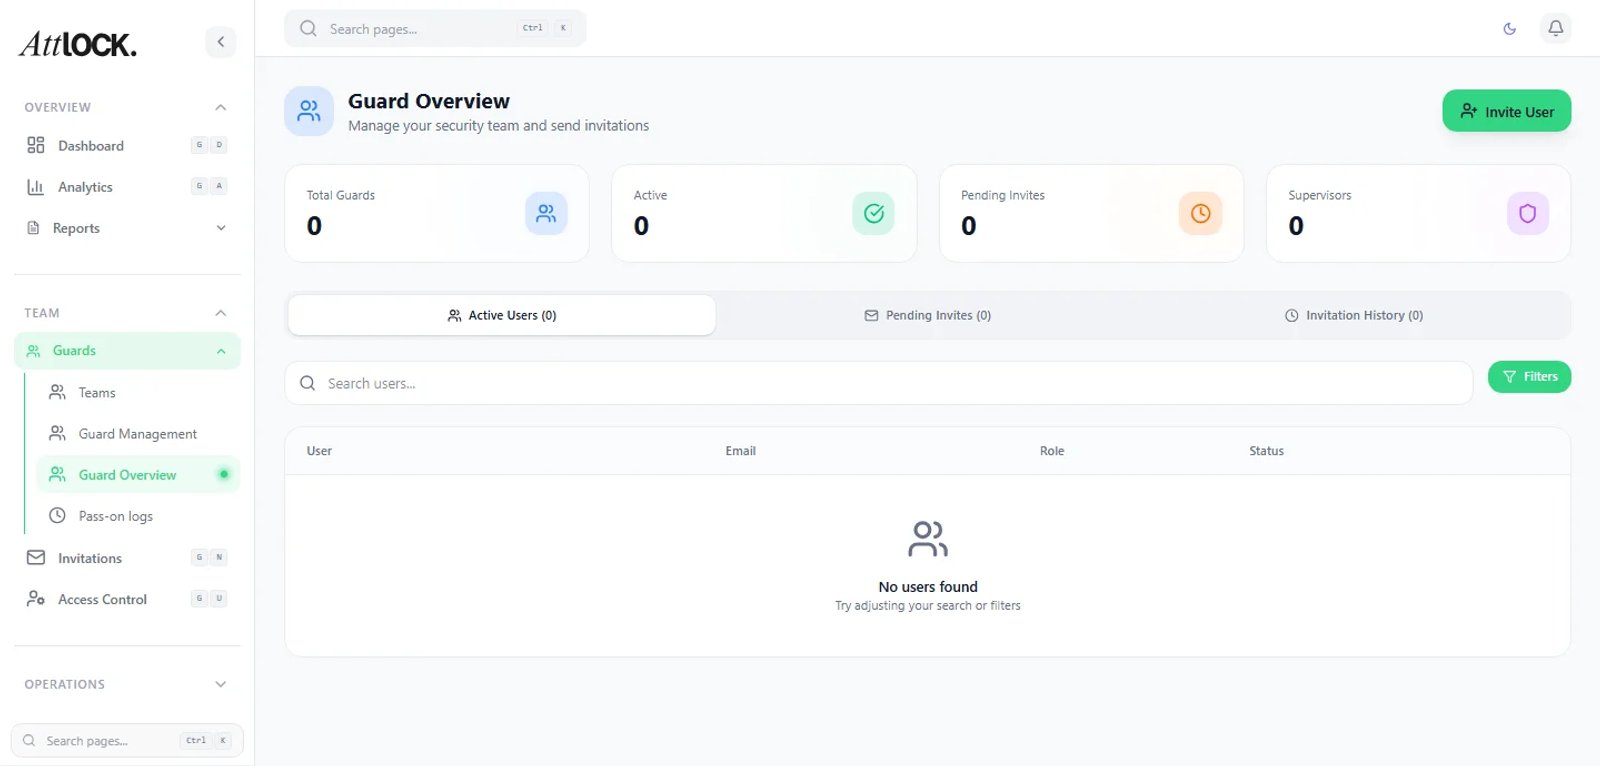
- Navigate to Team → Invitations.
- Click Invite User.
- Enter:
- Email Address (required)
- Role: Guard, Supervisor, Company Admin
- Assigned Site (optional — for guards)
- Click Send Invitation.
- The invitee receives an email with a link to create their account.
Invitation Statuses
| Status | Meaning | -------- | --------- | Pending | Invitation sent, waiting for the user to accept | Accepted | User has created their account | Expired | Invitation link has passed its expiry window |
|---|
Managing Invitations
- Resend: Click Resend on an expired or pending invitation to send a fresh email.
- Cancel: Remove a pending invitation if it's no longer needed.
- Track: See when each invitation was sent and its current status.
Guard Onboarding Flow
After a guard accepts their invitation:
- They create their account (email + password).
- They download the Attlock Guard App (iOS or Android).
- They log in with their credentials.
- They grant required permissions (Location, Camera, Notifications).
- They set up biometric login (optional but recommended).
- They're ready for their first shift.
Recommended Pre-First-Shift Steps
- Complete profile — ensure their personal details, emergency contacts, and uniform sizes are filled in.
- Add licenses — upload any required security licenses or certifications.
- Set availability — mark their available days and hours.
- Review post orders — read and acknowledge standing instructions for their assigned site.
- Complete training — finish any required training modules.
Admin/Supervisor Onboarding
After an admin or supervisor accepts their invitation:
- They create their account.
- They access the Admin Dashboard from their browser.
- Assign them the appropriate Role with the right permissions (see Access Control & Roles).
- Walk them through key features relevant to their responsibilities.
Onboarding Checklist for New Companies
If you're setting up Attlock for the first time:
- Company Profile — set up your company name, logo, address, license info.
- Branding — upload logo and set brand colors.
- Sites — add your security sites with addresses and geofences.
- Roles — configure custom roles if the defaults don't fit.
- Guards — invite and onboard your guard team.
- Clients — add client companies and assign site access.
- Schedules — create your first week of shifts.
- Patrols — set up patrol routes and checkpoints.
- Policies — publish key policies for guard acknowledgment.
Tips
- Send invitations in batches — invite all guards for a site at once.
- Set up training modules before inviting guards so they can complete onboarding in one go.
- Follow up on pending invitations — some people miss the email or forget.
- Use the Onboarding Checklist above to make sure nothing is missed.
Related Articles
- Getting Started with the Admin Dashboard
- Managing Guards
- Access Control & Roles
- Compliance, Policies & Training