


Configuring Geofence Boundaries for Sites
This article is for Administrators and Company Admins.
Geofences are virtual boundaries drawn around your physical sites. When a guard's mobile device crosses a geofence boundary, Attlock can automatically clock them in or out, verify patrol compliance, and trigger alerts if a guard leaves a restricted area unexpectedly. This guide walks you through creating and managing geofences for your sites.
What Geofences Enable
- Automatic clock-in/out — guards are clocked in when they enter the geofence and clocked out when they leave.
- Presence verification — confirm a guard is physically on-site during their shift.
- Boundary violation alerts — notify supervisors if a guard leaves the site perimeter unexpectedly.
- Patrol compliance — verify that patrol routes stay within designated zones.
- Checkpoint validation — confirm a guard reached a checkpoint location.
Opening the Geofence Editor
- Navigate to Sites → [Site Name] → Settings → Geofence.
- The site's address is automatically geocoded and centered on the map.
- Click Edit Geofence to open the drawing tools.
Drawing a Geofence
Attlock supports two geofence shapes:
Circle Geofence
Best for simple sites with a clear center point (e.g., a single building).
- Select the Circle tool.
- Click the center point on the map.
- Drag to set the radius, or type an exact radius in meters in the sidebar.
- Click Save.
Polygon Geofence
Best for irregular sites (e.g., industrial estates, campuses, multi-building complexes).
- Select the Polygon tool.
- Click to place each corner of the boundary.
- Click the first point again to close the shape.
- Drag any point to adjust the boundary.
- Click Save.
Geofence Layers
You can create multiple geofence layers for a single site to define different zones:
| Layer Type | Purpose | ------------ | -------- | Site Perimeter | Outer boundary — triggers clock-in/out | Restricted Zone | Areas guards must not enter (e.g., server rooms) | Patrol Zone | Areas guards must cover during patrols | Checkpoint Zone | Small radius around a specific checkpoint |
|---|
To add a layer, click Add Zone, name it, select the zone type, and draw the boundary.
Configuring Geofence Triggers
For each geofence layer, configure what happens when a guard crosses the boundary:
- Click the layer name in the sidebar.
- Under Triggers, configure:
- On Enter — Auto clock-in, send notification, log event
- On Exit — Auto clock-out, send alert, log event
- On Violation — Alert supervisor, flag shift, send push notification to guard
- Set the Dwell Time — how long a guard must be inside/outside before the trigger fires (prevents false positives from GPS drift).
- Save.
GPS Accuracy and Drift
GPS accuracy on mobile devices varies. To reduce false alerts:
- Set a minimum geofence radius of 50 meters for outdoor sites.
- Use a dwell time of 60–120 seconds before triggering clock-in/out.
- For indoor sites, consider using QR code or NFC check-in instead of GPS geofencing.
Viewing Geofence Activity
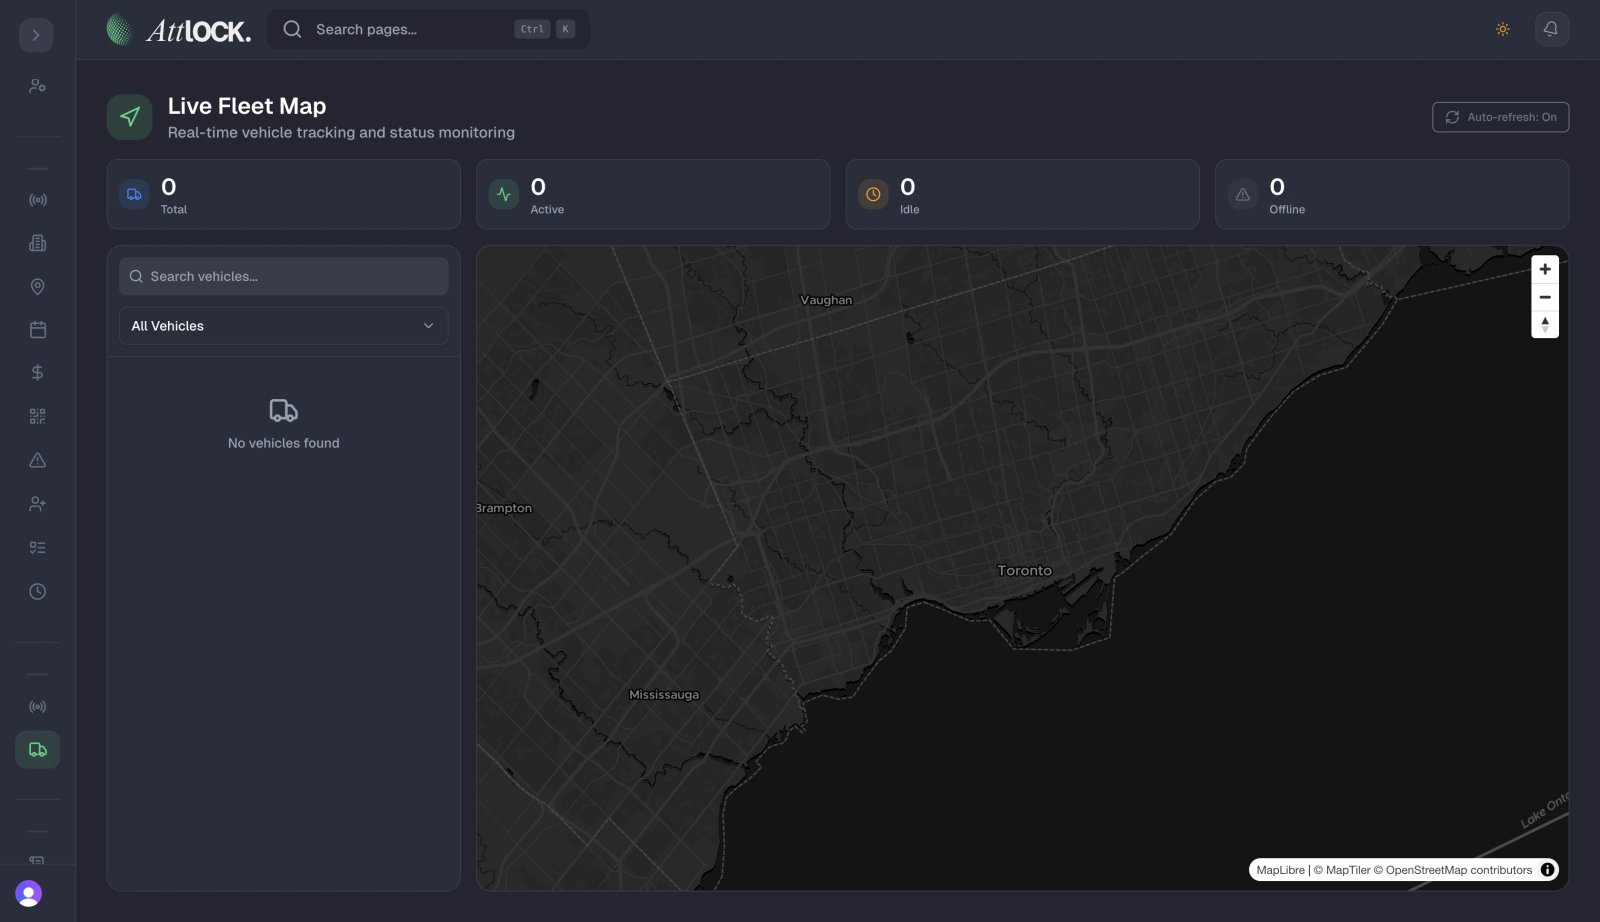
Go to Live Tracking → [Site] to see real-time guard positions overlaid on the geofence map. The Sites → [Site] → Activity Log shows a timestamped history of all geofence entry and exit events.
Best Practices
- Draw geofences slightly larger than the physical boundary — accounts for GPS drift at the edges.
- Use polygon geofences for complex sites — circles often include areas you don't control.
- Test before going live — walk the boundary with a test device to verify the geofence fires correctly.
- Set dwell times — a 60-second dwell prevents a guard driving past a site from triggering a clock-in.
- Review violation alerts weekly — repeated violations may indicate a geofence that needs adjustment.
Related Articles
- Managing Sites
- Live Tracking & Welfare Checks
- Patrols & Checkpoints
- Zones, Regions & Area Management